
Every mix is made up of hundreds of small decisions that shape the sound of the track. But when you zoom out and look at the big picture, all mixes require attention to the same basic issues—balance, tone, dynamics, depth, and glue. In this blog, you’ll learn what to look for in each of these areas to create more cohesive, professional-sounding mixes.
My motto is to keep things as uncomplicated as possible to get the most musical results. I’ll give two examples to keep in mind as you get into this article. First, volume automation can enhance an arrangement better than EQ in many cases. For instance, if your rhythm guitar is competing with the lead vocal in the verse, instead of cutting out the midrange of the guitar, consider lowering the guitar 2dB during the verse and bringing it back up when it doesn’t compete with the vocal or when the track needs a little boost. Second, if lead vocal has a few moments of sibilance or one or two p-pops, don’t be lazy and apply a de-esser or filter to the whole track. That will degrade the whole track to fix a few minor problems. Instead, simply process the trouble spots with some clip-based processing, render those clips and move on to the mix.
1. Balances
A good mix starts with the foundation. Begin by dialing in basic volume balances so you can hear each element and get the basic feel of the song. Of course, the vocal should be the most prominent element in the mix, typically followed by the kick and snare, which drive the beat. Figure out which other elements help create the groove and which play a supporting role.
Each genre has its own unique sonic structure, so it’s a good idea to compare your mix to other popular tracks in the same genre to get a feel for how loud different elements should be. Keep some reference mixes handy to make sure you’re staying on track as you work through these steps. Your track may have slightly different production elements than any given reference, but your mix should still feel like the reference as far as overall energy and the amount of groove vs melody.
Once you have basic balances, use the pan controls to spread different elements around the stereo spectrum. Keep rhythmic and harmonic elements balanced on each side of the mix and check your mix in mono to make sure important elements don’t disappear. Make sure to keep foundational elements focused in the middle—kick, bass, snare, and lead vocal or lead melody instrument.
To push certain elements beyond the width of the speakers, try using a stereo imaging plug-in like the Ozone Imager or the Waves S1 Imager to enhance the stereo image. Haas style panning with short delays can also provide an enhanced sense of left-right space on certain instruments. The elements that tend to benefit from ultra-wide stereo imaging are effect returns, pads, and percussion elements that can be kept low in the mix yet still “speak well’ since they are panned so wide.

2. Correcting Problems and Enhancing Strengths with EQ
After dialing in the levels and panning, focus your attention on tones. Start by correcting any frequency issues that immediately stand out to you. Listen carefully to each frequency range to make sure all of the tracks are gelling together to create a cohesive mix free from build-ups or holes in any frequency range. You may want to solo tracks during this process, but try to keep each sound in the context of the whole mix to properly EQ it for the track. Bright acoustic guitars sound great by themselves, but may crowd the percussion in the mix!
Scan through each octave for problems. Start in the sub-bass range and work your way up using subtractive EQ to correct any issues with the recording. Pay special attention to the sub-bass range for rumble, the low-end for boominess, the low-mids for muddiness, congestion in the mids, and harshness or sibilance in the highs. Check out my previous article about types of equalizers for specifics on using equalizers.
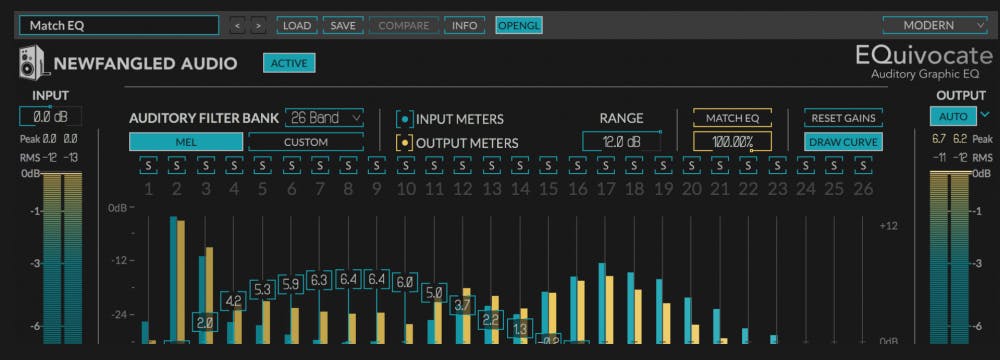
After you’ve solved some basic tonal problems, use your favorite analog-modeled EQs to add color and character to your tracks, giving them a more “musical” and harmonically rich sound. Not every track will need EQ—and that’s OK. The idea is to make certain tracks stand out from the rest—not everything can be bright in a mix!
Lead instruments should be EQ’d to highlight their special characteristics—a chesty tenor sax or a cutting guitar solo or an airy soprano vocal. Drums, bass, and pads should be EQ’d to fill in the space around the lead instruments. If the foundation is solid and the lead instruments feel special, everything else often falls quickly into place.
If you want to give a track a little extra energy but don’t have a need to alter the frequency balance, pop in a saturation plug-in to add harmonics without drastically altering the tone. Try exciters or tape or transformer emulations like the Ozone Exciter, (Waves) Scheps Omni Channel, or Kazrog True Iron.
3. Controlling Dynamics
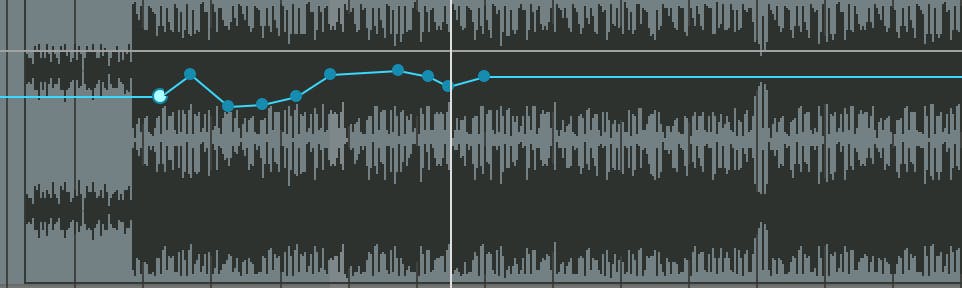
After dialing in the tones, it’s time to shift your attention to the dynamics. While your first instinct may be to slap compressors on many of your tracks, it will serve you well to do a quick pass of automation to even out a track before trying to force it into shape with too much dynamic processing.
Listen closely to each element of the mix and identify any tracks that are either too dynamic or could use a little more punch. For overly dynamic performances (I’m looking at you vocalists and bassists), use a compressor with a fast attack, a moderate release, and a high ratio to quickly clamp down on transient peaks. To transparently smooth out the average volume of a vocal performance try a very low ratio, like 1.3:1 and a low threshold to get 2 to 3dB of constant compression.
Often, a vocal track suffers mainly from words disappearing, like a singer “throwing away” the last word of every phrase. In that case, it is best to do some volume or clip gain automation before any compression so that the performance feels solid before hitting the compressor. The Waves MV2 (my secret weapon) works well to increase the volume and clarity of the low-level parts of a vocal or instrument track without touching the peak levels.
For tracks that need a little more punch, like kicks and snares, use compression with a slower attack to enhance the impact of each transient. Don’t kill the pulse or the punch of the song, but gently even out the dynamics to maintain a consistent presence of the important instruments. Try starting with just 1 or 2 dB of VCA compression on kick or snare to keep the hits sounding even and solid. More extreme compression can help shape the envelope of the drums if you feel that is more appropriate for a particular production.
Review Tiki Horea’s post about drum processing and don’t forget about using parallel compression to retain your drums’ original sense of dynamics while adding punch and clarity. Check out Waves’ StudioRack plugin chainer to open your mind to a new world of parallel processing options.
Again, compare to your reference tracks to make sure your drums are as punchy and upfront and the vocal takes up a similar amount of space as in the references.
4. Building Ambiences and Dimension
With the frequency spectrum balanced and the dynamics in check, your next goal is to add depth to the mix using spatial effects.
Reverb and delay will be your primary tools here, and they can be used to push instruments farther back in the mix or to add space around certain instruments. Start by identifying the instruments that you want to be at the front of the mix and either leave them without reverb or apply effects with short decay times. A quick review of Barry Rudolph’s post on ambience and reverb may inspire you. Barry’s post on delays provides even more creative inspiration.
Next, identify the instruments you want at the back of the mix and apply effects with significantly longer decay times. You don’t necessarily have to use the same type of effect on every track, but too many different reverbs and delays in one mix can start to sound chaotic.
From here, you can continue adding instruments to the “close” and “far” effects busses or create additional layers to stagger elements in a busy mix. Reverb and delay can also add sustain to elements that can help glue things together. Use effects tastefully and feature effects occasionally to highlight special moments.
Try to find a few spots for strategic echoes on the lead vocal or create a delay throw that extends a guitar solo into the next section. Little tricks like these can make a big impact if not overused.
Sometimes a drier effect can add motion to sounds. For these situations, try a phaser, flanger, chorus, tremolo, or doubler/harmonizer. These effects can give background vocals, keyboards, and pads a sense of depth without adding ambience or “wetness” to the tracks.
5. Fine-Tuning the Mix Bus
At this point, you should have addressed any issues with balance, tone, dynamics, depth for each element in the mix.
Take another listen through the track and focus on enhancing the sound of the mix as a whole. Does the mix feel focused, solid, and as dense and punchy as it should? Use EQ, dynamics processing, and stereo widening to glue each of the individual tracks together and enhance the musicality of the track as a whole. Eli Krantzberg previously covered mix bus compression and saturation in this article. Don’t forget about top-down mixing either!
6. Finishing Touches
Last but not least, take one more listen through your track and write an automation pass. If you have a physical DAW controller you can manually ride the faders to make each moment feel more dynamic. This is a great way to breathe life into a static mix and easily add excitement without throwing off the balance.

One powerful trick for quickly adding energy to a track is to automate the level of the mix bus up by 1dB during the choruses. Just make sure that you don’t clip your mix. Use a master fader or gain plugin that is before your mix bus inserts to avoid clipping and drive your mix bus processors a little harder for some extra grit.
In addition to using automation to balance the levels of your mix or make the chorus pop, you can also sculpt the energy of the track from start to finish. While every song is different, most tracks slowly get louder throughout the course of the song. Try using automation to enhance this effect by making the loud parts a little louder (and vice versa).
By following the steps outlined here, you will be sure to pay attention to the most important stages of mixing. After you’ve completed these steps, do a quick review of all the steps to make sure you covered all your bases. Now that’s a mix!


