Understanding delay-based effects starts with understanding what a faithful recording actually is. A good recording doesn’t change the pitch or the timbre of the instruments. It doesn’t change their respective balance. And it doesn’t alter the timing of the performance. If we can’t trust our DAW or tape machine to capture these qualities reliably and consistently, we might as well not bother recording anything.
However, there are times when we deliberately want to alter a recorded sound. We might want to change pitch, perhaps to make something that was out of tune sound in tune. We might want to change the balance, to stop one instrument taking over the mix, while another is inaudible. And there are lots of reasons why we might want to tinker with timing.
There are corrective timing adjustments, such as speeding up a song that was performed too slowly, or cutting up a drum track to quantise it to the grid. And there are creative timing adjustments too. These usually involve generating one or more duplicate copies of the original performance, making timing adjustments to those, and blending them back into the mix. A surprisingly broad range of creative effects can be generated this way, and together these are known as delay-based effects.
Long And Short
In an audio context, a delay is something that makes sound emerge later than it otherwise would have. In isolation, applying a delay doesn’t make any difference to the source itself. But it changes the timing relationship between that source and others. This is usually bad, and we only delay the entire signal on purpose if some other delay needs to be corrected for. For example, it’s not uncommon for video playback to lag slightly behind audio, in which case delaying the audio mix by the appropriate amount will put sound and picture back into perfect sync.
Things start to get creative when we keep the original signal and add in some of the delayed signal as well. How creative depends on the time difference between them. If they are a minute apart, they will just sound like two different pieces of audio piled on top of each other. At the other extreme, if the time difference is less than 30 milliseconds or so, our hearing won’t be able to clearly separate the original and the duplicate. In this case, we perceive the delay as changing the timbre of the sound. Combining the original and very slightly delayed sounds causes a phenomenon known as comb filtering — a phenomenon explained in detail in our glossary — whereby the phase differences between the two sounds lead to reinforcement at some frequencies and cancellation at others. We’ll return to this later.
For the time being, let’s think about what happens when the delay time is in the range from a tenth of a second (100ms) to a second. Now, adding the delayed sound to the original mimics a phenomenon we hear in the real world: an echo. When we stand near a high wall or under an arch, sound we make is sometimes reflected back to us in startling clarity. We hear the direct sound of a handclap first, and the reflected handclap shortly afterwards.
Tape Delay
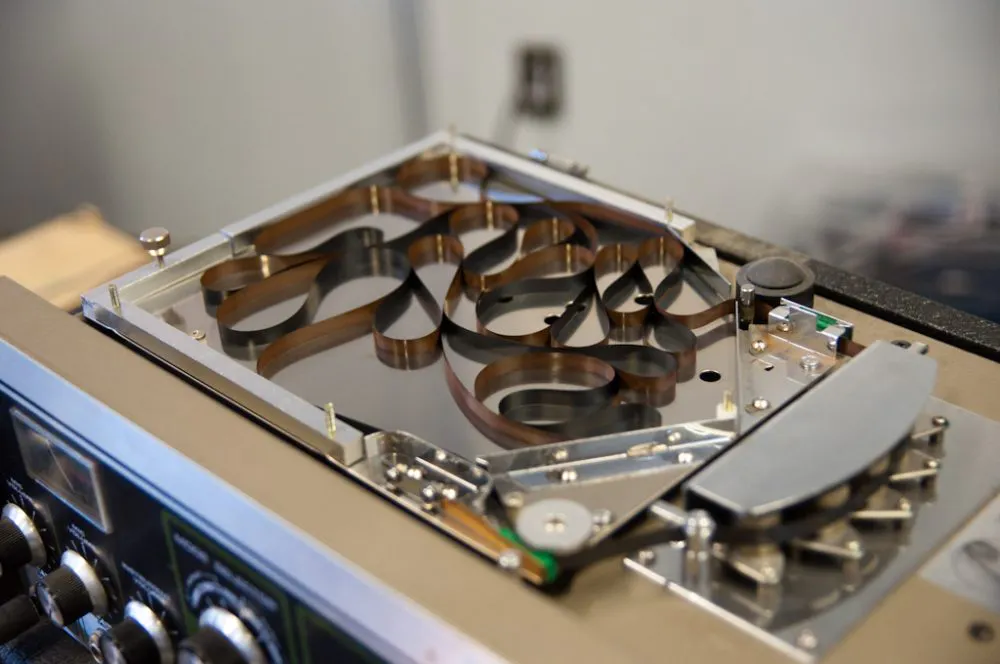
A clear echo ‘in the wild’ is just common enough to be recognisable, but rare enough to be notable when it happens. That may be why Sam Phillips and other Fifties producers thought that recreating it artificially added excitement to their records. The way it was originally done was simple. Studio tape recorders have separate record and playback heads, and it takes time for the tape to pass from one to the other. Consequently, if some of the playback signal is fed back into the record head, it then reappears a short time after at the playback head. The exact delay time is determined by the head spacing and the tape speed, but was typically just under a tenth of a second.

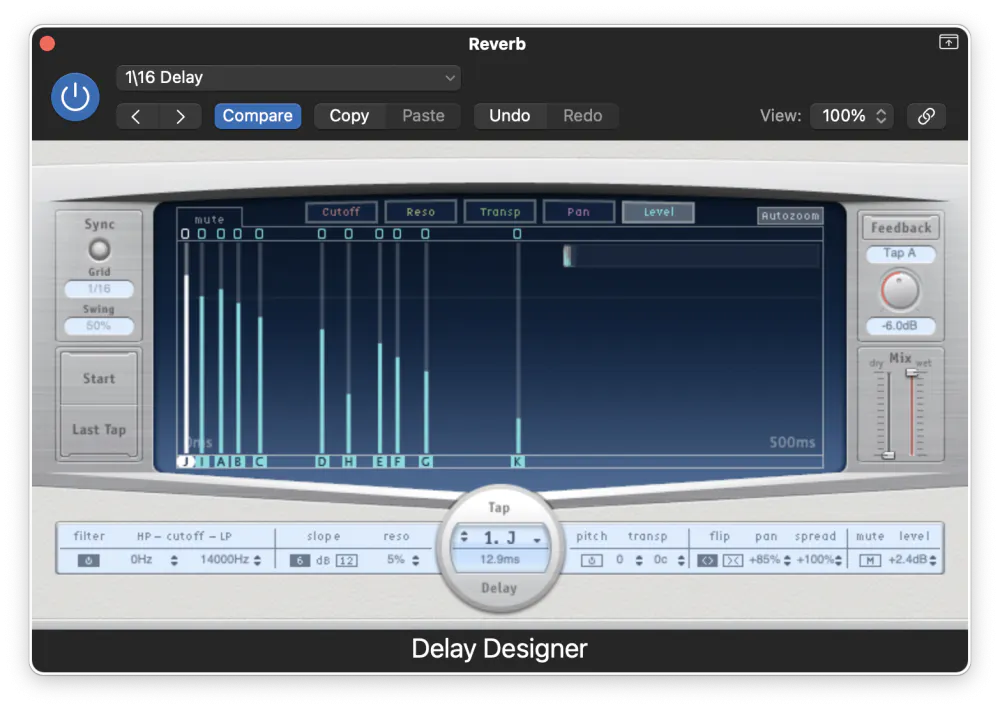
Since this was before the widespread use of multitrack recording or overdubbing, it was an extremely blunt instrument. Any echo that was introduced this way was applied to everything on the tape. Engineers and producers wanted more control. Musicians wanted to use the effect live. Creative designers thus came up with portable echo units. Most of these employed short loops of tape, but some used spinning drums and even cans full of oil to generate similar effects. These devices allowed echo to be applied only to one instrument in the band. They usually made it possible to adjust the delay time, either by altering the tape speed or selecting from multiple playback heads (‘taps’) in different positions.
Some echo units also permitted more complex sounds to be created. For example, machines with multiple heads allowed more than one to be active at once, generating multiple echoes from a single source. And many units allowed the delays themselves to be fed back to the record head, where they could be recirculated. In practice, applying echo to the echoes like this means that each one is repeated more than once. The greater the feedback level, the longer each echo persists. And if the feedback is turned up to the point where the repeats get steadily louder, we enter a runaway zone where the whole system runs out of headroom and begins to overload. For a deeper look at how serial and parallel routing works in modern DAWs, see Pro Mixing: Serial and Parallel Effects.
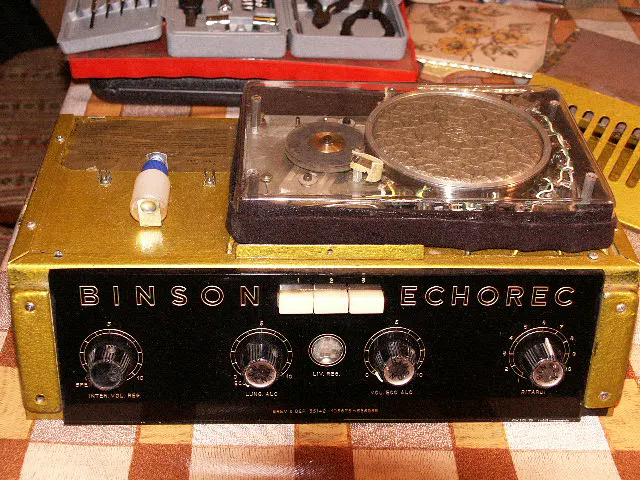
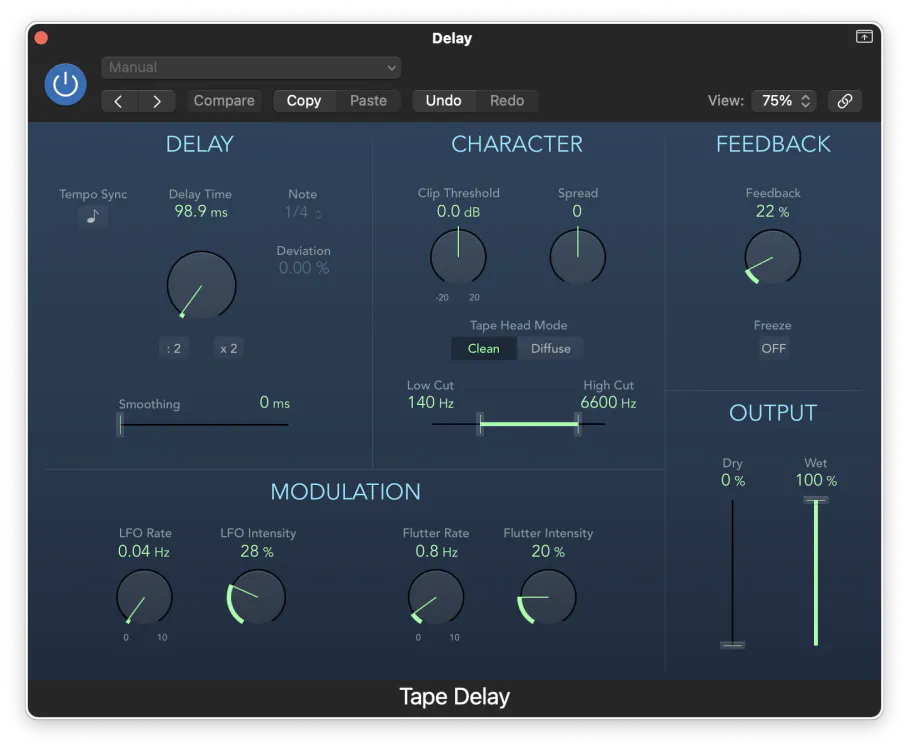
This is just the most obvious way in which tape echoes were, depending on your point of view, either very interesting or very imperfect devices. Most were built to a price, and were nothing like as hi-fi as studio tape machines. They used short tape loops, which quickly wore out from repeated recording and re-recording. Mechanical parts developed wobbles and inconsistencies. And each time an echo was repeated, it inherited these imperfections to a greater and greater extent. As the echoes faded, they became darker and less clear, and artifacts such as wow and flutter became increasingly obvious. And when the tape was driven into overload, it often responded with a wild but thrilling wall of sound.
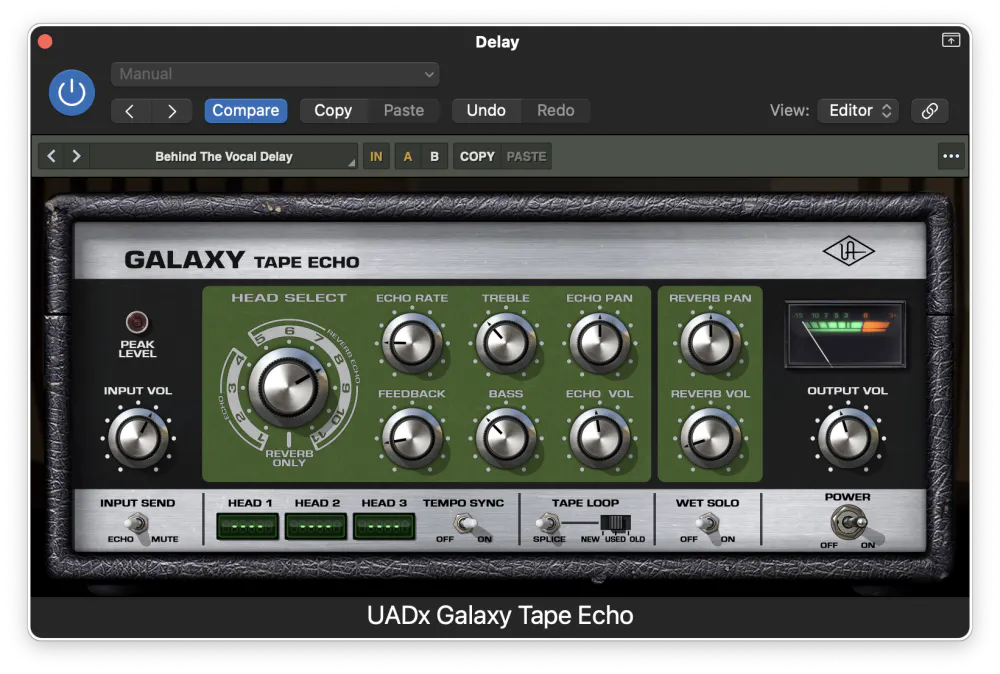
So, although many people were frustrated by the imperfections of tape echoes, many more appreciated the unique character they added to the music. Those qualities are still prized today, which is why models like the Roland RE-201 Space Echo are so expensive on the second-hand market. Sound on Sound’s technical deep-dive into understanding and emulating vintage effects explains precisely why digital emulations fall short — and what they’d need to do differently. However, as the delay effect became a standard part of guitarists’ and studios’ arsenals, other techniques for producing it evolved. Early delay pedals for guitarists used so-called ‘bucket brigade’ chips, whilst manufacturers like AMS, Eventide and Lexicon pioneered the use of digital sampling in studio delay units. These too were typically quite imperfect, especially at longer delay times, and had their own individual character which was different from that of tape units.
Delay-Based Effects in the Modern DAW
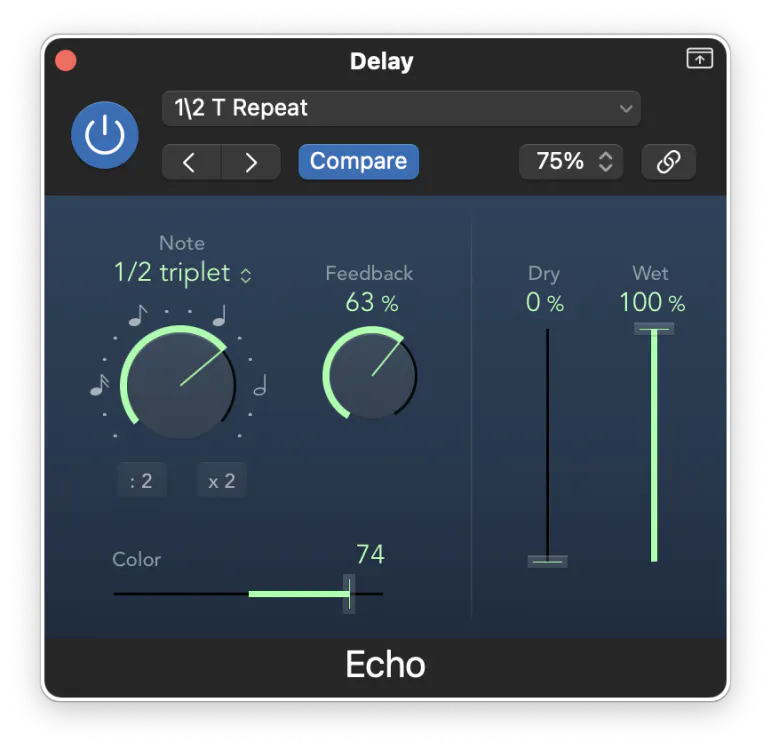
Delay-based effects today are almost always generated in software. It’s a medium that essentially offers perfect reproduction. This means that a basic digital delay plug-in in a DAW can also be perfect, reproducing the same signal over and over again for as long as we want it to. However, this is no longer a very good approximation of how physical echoes sound in the real world, and nor does it have any character of its own, so many plug-in delays actively seek to recreate the side-effects of vintage tech. There are lots of plug-ins that meticulously copy the Space Echo and other vintage devices, but you can get pretty close even using a generic digital delay, as long as it has a few key features. You’re looking for a variable feedback control, the ability to filter the echoes to remove low and high frequencies, and a low-frequency oscillator. This is used to apply modulation to the sound, imitating the instability of a dilapidated tape transport. If you want to recreate the sound of an early digital delay, you could look for a plug-in that allows you to reduce the word length and sample rate of the signal for some authentic ‘bit crushing’ action.
Modern delay plug-ins also give us easy access to features that would have been difficult or impossible to create in the early days of tape. The obvious one is stereo. By panning individual delay ‘taps’ left and right, and creating different feedback patterns for each of them, we can easily generate rich, complex sounds that fill the stereo field. These can be great for vocals and lead instruments, especially guitar solos.
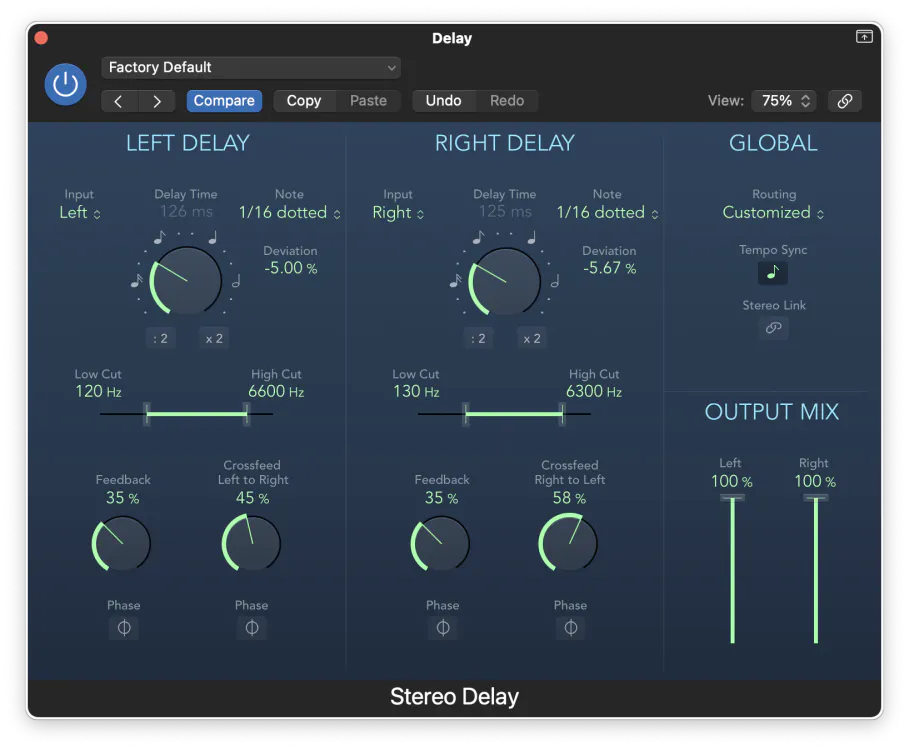
Another feature that’s easily implemented in plug-in delays is tempo synchronisation. This involves matching the delay times to the tempo of the track, and can be a desirable effect when applied to something that contributes to the rhythm section. A famous early example is Led Zeppelin’s ‘When The Levee Breaks’, where the 16th-note delay forms a key part of John Bonham’s drum sound.
Finally, digital plug-ins also allow the delayed sound to be modified in other ways than just filtering. A well-known example is that incorporating a pitch-shifter into the delay path creates some very extreme effects, especially at higher feedback levels. Less well known is the idea of including processors such as de-essers, expanders or transient shapers into the delay path, to smooth out the sound and turn down distracting transient noises.
Flanging & Chorus: Delay-Based Effects in Action
Another creative delay-based effect that was originally generated using tape machines exploits the comb filtering phenomenon mentioned earlier. Studio engineers in the ’60s noticed that if they tried to play back the same track on two tape recorders at once, minor speed variations would create short-time and pitch differences between the two machines. These, in turn, generated an interference effect when the two signals were combined. At any given time, the delay between one machine and the other was not long enough to be heard as an echo, and the speed variations meant that it wasn’t stable enough to be heard as a consistent change in timbre. Instead, we got the classic ‘whooshing’ effect as heard on, for example, ‘Itchycoo Park’ by the Small Faces. (The origins of the name ‘flanging’ are obscure. Some say it derives from placing a hand on the flange of the tape reel to slow it down and create the speed variations, but this would more usually be done using the tape recorder’s varispeed control.)
As this effect became more popular, equipment manufacturers began to devise more convenient ways of generating it. Eventide’s Instant Flanger was a rackmount unit that mimicked the effect using ‘bucket brigade’ chips, and before long, flanging was available in foot pedals for guitarists too. The developers of these effects also realised that by using slightly longer delay times, and slightly greater pitch variations, it was possible to create another effect with a unique character of its own. As the name suggests, applying a ‘chorus’ effect to a single instrument made it sound a little as though there were lots of musicians playing together. It was particularly valuable for thickening up the sometimes feeble sound of early synths and string machines. Chorused fretless bass, meanwhile, is one of the most Eighties sounds known to man.
There are innumerable flangers and chorus effects available in plug-in form, and nearly all DAWs come with their own examples. It’s also possible to recreate both effects using a generic delay plug-in, although there wouldn’t be much point except to gain a deeper understanding of the process. Both are best used in moderation: a subtle chorus or flange effect can add interest to an otherwise boring keyboard or guitar sound, whereas a more intense burst of ‘jet plane’ flanging is better used as a spot effect for a short section, rather than all the way through the track. Applying a stereo chorus effect to a mono source can be a very good way of spreading it out across the stereo field.
Reverberation
All hard surfaces reflect sound, but it’s unusual for those reflections to form a single discrete echo. That can only happen if all the reflections arrive back at our ear at exactly the same time. In a typical room, sound reaches us in all sorts of ways. Some of it arrives directly. Some of it bounces off the floor or ceiling, some off a wall. Yet more follows complex paths involving more than one surface. Instead of a single, sharply defined echo, we have lots and lots of small echoes arriving one after the other. The time differences between these echoes are so small that our ears can’t differentiate them. We don’t hear a fast series of echoes, but a blur of sound. This is called reverberation, or ambience.
In real life, reverberation is an important psychoacoustic cue. What we hear tells us as much about the room we’re in as what we see. Even in complete darkness, we can learn a lot about the space around us by clapping our hands and listening to what comes back to our ears. The character, loudness and duration of the reverberation depend mainly on the size and shape of the room, the materials it’s made of, and whether it’s empty or full of furniture. When we record a large ensemble such as a symphony orchestra, the choice of venue is critically important, mainly because of its reverberant properties. Acoustics consultants get paid handsomely for designing concert halls that present a pleasing sound wherever you’re seated.
But outside of classical music, most recording involves close-miking. We capture the sound that each instrument makes from a very short distance away. In doing so, we record mostly the direct sound, and relatively little reverberation. This leaves us free to add reverberation after the fact. In principle, there’s nothing to stop us placing our singer in a virtual ballroom and the sax player in a virtual bathroom. (Whether this sounds good is another matter.)
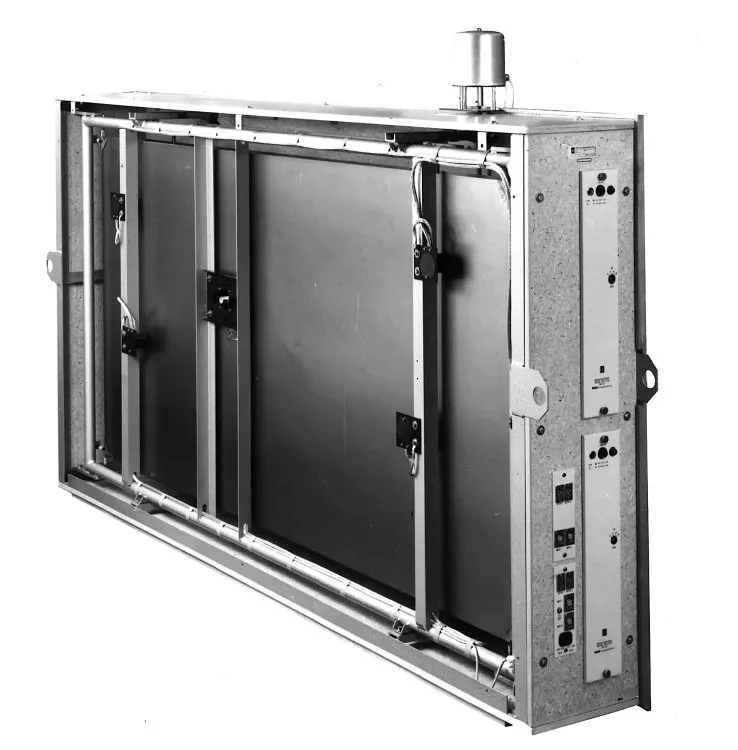
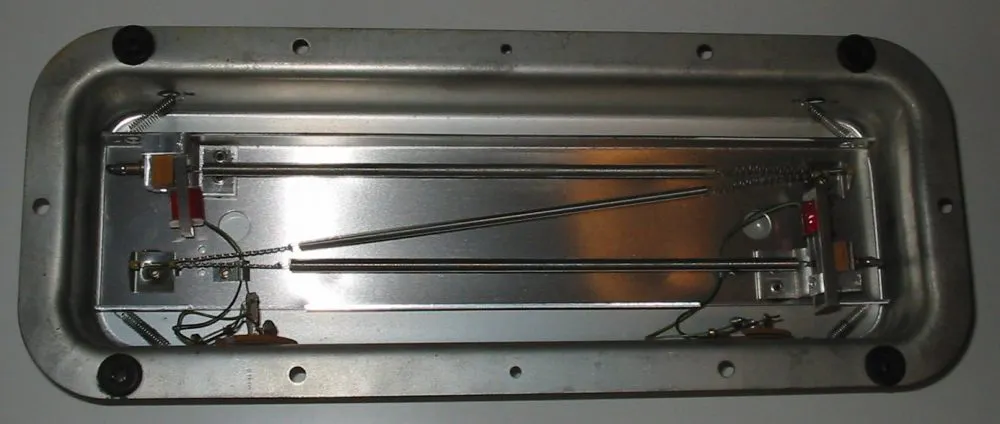
Over the years, numerous techniques have been developed for adding reverberation to recorded sound. The great studios of the Fifties and Sixties had so-called ‘echo chambers’: dedicated rooms with reflective walls, into which sound would be played over loudspeakers and re-recorded on microphones. This was also the golden age of so-called electromechanical reverbs, which piped sound into metal plates and springs instead of real acoustic spaces. Then, towards the end of the Seventies, digital technology became sufficiently advanced to create delays with hundreds of ‘taps’, which could be used to approximate the series of individual echoes that makes up reverberation. The most recent major development in artificial reverberation is convolution, a technology that allows the sound of a room to be ‘sampled’ with perfect accuracy and recreated. For a practical guide to using reverb in your mixes, see Creating Ambience and Depth with Reverberation.
Spring reverbs are still common in guitar amplifiers, where their splashy, metallic sound seems to fit well. But in a music production context, most reverberation is now created digitally, and nearly always using plug-ins. These can broadly be divided into algorithmic and convolution types. The former are the sophisticated descendants of those early digital devices, and generally have the advantage of being very versatile. On an algorithmic reverb, you can make radical changes to the duration or character of the sound simply by turning a handful of controls. By contrast, a basic convolution reverb can reproduce the sound of whatever space has been ‘sampled’ with stunning accuracy, but there’s usually limited scope to modify it. Both types are often used to recreate the sound of electromechanical reverbs as well as real spaces.
The use of reverberation in music mixing is a huge topic, and worthy of an article in itself. Some tracks and musical styles are drowning in artificial reverb; others are completely ‘dry’. In some contexts, it’s appropriate to apply the same reverb to every source within the mix, in order to make it sound like everyone’s playing in the same room. In others, it might be more effective to use different reverbs on different instruments, or to have lots of reverb on some and none on others. Experiment is the key, and if you’re in any doubt as to how much reverb to apply, less is usually more. If you’re mixing on headphones, Mixing on Headphones: Using Reverb Effectively covers the specific challenges of judging reverb depth without speakers. A good starting point is to set the reverb at a level where it’s not obvious in the mix, but where its absence is noticeable when it’s muted.
Insert Or Send?
Whether you’re working in software or with a hardware mixing console, there are two main ways to use effects. One is to insert them directly on the channels that you want to effect. The other is to set them up on mixer channels of their own, and use auxiliary sends on other channels to route audio to them. This is the foundation of the approach detailed in How to Make Your Mixes Sound 3D on Headphones, where spatial depth depends entirely on how time-based effects are routed. Delay-based effects can be used both ways. Flanging and chorus would typically be applied as inserts, whilst delay and reverb are more usually configured as auxiliary effects.
The reasons for this are mostly practical. When we add delay or reverb to a vocal, we don’t want the result to be just delay or reverb: we want to keep the vocal intact and add some reverb or delay at the level of our choice. When we’re also automating, compressing, and equalising the vocal, we want the reverb to be added to the processed signal, not to the raw signal. And in many cases, we might want to use the same reverb on multiple sources, in which case it’s a lot more efficient to set up a single plug-in on an auxiliary channel than to insert separate ones on multiple tracks. Used thoughtfully, delay-based effects are among the most powerful tools available to a mixing engineer.