
EQ is the most important part of the processing chain. It’s the last chance for a song to have its frequency content inspected and, if needed, corrected or enhanced. Before we dive in, remind yourself of Mastering Rule #1: Do no harm. If, by some miracle, the mix you have to master is tonally and dynamically perfect, don’t EQ or compress it. Bring to an appropriate loudness level and deliver it. That being said, this is a dream scenario that most mastering engineers rarely come across.

Mastering is all about making small changes with great results. In the context of mastering a full mix, any EQ adjustment affects all the tracks that make up the mix, so incremental changes (even 0.25 to .5 dB) can make or break a master. Pay careful attention to how the EQ changes you make impact the overall sound—particularly how one change affects everything else in the master. It’s customary for some top mastering engineers to send a mix back to the mixer if they need to EQ something more than 2-3 dB.
Cut or Boost When EQing a Master?
This topic is fairly controversial. Some people claim there’s no right or wrong, while others differ. While recording or mixing a live show, we must focus on proper gain structure, but in mastering we often manipulate our gain structure between plugins to optimize the tradeoff between color (saturation) and headroom.
Often, the clarity of mix comes down to the proper amount of low-frequency energy vs. high-frequency energy. Too much low-end eats up headroom and can overpower delicate high-frequencies. Conversely, a build-up of high-mid frequencies can create a harsh-sounding mix. Use Subtractive EQ to reduce a frequency build-up in one area and you will notice that other ranges of the mix become clearer.
To our ears, dipping low-frequencies produces a similar effect as boosting the high-frequencies. Likewise, to increase both the low- and high-end of a track, simply reduce mid frequencies with a wide-bell filter. Then increase the track’s overall level to make up for the loss in perceived volume.
Subtractive EQ is generally done using a narrow Q to avoid affecting anything more than the frequency ranges you wish to fix. High-pass filters would be an exception, where gentle slopes with a very low corner frequency can produce a subtle but effective result without creating audible artifacts. Be careful! Steep high-pass filters, especially minimum-phase filters, can create audible artifacts as high as 2 or 3 octaves above your filter frequency.
Additive EQ
After correcting the frequency balance problems a track might have, the next step is to evaluate what the master may be lacking. In contrast to subtractive EQ, additive EQ is done using wide, gentle boosts to “sweeten” the track. High-gain, narrow Q boosts can create phase shift and group delay artifacts that sound unnatural or even painful to the human ear.
Effective additive EQ often comes from a “character” plugin or piece of outboard gear. These types of circuits impart some color (harmonics) to the frequency range you boost. Not only do passive EQs boost frequency content, but they may also add new harmonic content that adds density and energy to the signal. See our article about passive EQs for more tips on these unique processors.
All in all, there’s no right or wrong when choosing whether to boost or cut. It’s all about the issue you’re facing and which approach makes the most sense at that moment.
- If the track is too bright but the low end sounds fine use a high-shelf cut to tame the top end.
- If the low-mid region is muddy, use a bell-shaped EQ to reduce the offending frequencies.
- If the top-end is fine but the low end is lacking boost the low end with a wide bell or gentle shelf.
How many EQ bands are necessary for mastering?
Remember that every move you make, every step you take in mastering changes the sound of the song. Apply as little EQ as is necessary to achieve your goal. Ideally, a two-band EQ, like the Dangerous BAX, can effectively shape the overall master. You may still need to apply small amounts of corrective, narrow-band boosts or cuts to tame certain resonances or bring attention to certain frequency ranges. I don’t limit myself to any specific number of frequency bands, but I often use two different equalizers in series; one to address small changes throughout the frequency ranges (usually a transparent parametric EQ), and one to add color or weight, open up the top end, reduce low-end clutter, or tilt the overall frequency balance one way or the other (usually a BAX type EQ with high- and low-pass filters). See the list of suggested EQ plugins at the end of this article.
EQ techniques
While this article focuses on applying stereo equalization, many of my EQ techniques rely on mid-side EQ rather than stereo EQ. I often find mid-side equalizing to be more precise and transparent than stereo equalizing. We’ll investigate mid-side EQ techniques in part 2 of this series.
A typical case for a stereo EQ is for a mix that has way too much low end. Usually, this is because the mixer’s monitoring environment lacks low-frequency information due to acoustic issues or limited-range monitors. First, let’s look at reducing the low-end, and then we’ll look at increasing the high-end.
- If the low-end surplus seems consistent from, say, 100 Hz and down, you can easily fix this using a standard low-shelf cut. Better yet, try a gentle high-pass filter at 20 Hz in combination with a gentle shelf cut around 70 Hz to create an extra-smooth low-frequency roll-off.
- If the low-end issue stems from the kick and bass masking each other, see if a narrow bell-shaped cut can reduce either the kick or the bass fundamental to clear out the mess a bit. Remember that the kick fundamental usually remains constant while the bass fundamental likely moves around with the chord changes.
- If the 20-40Hz range of a mix is nothing but a blurry mess, you may need to clean out the subs with a high pass filter. Set the filter as low as you can get away with to avoid removing vital energy, especially if the music that’s meant to be played in clubs.
- In some cases, once you’ve cleaned up the subs, you’ll find that the low-end needs a little bit of a boost. Simply use a wide-bell filter shape and gently boost the range that needs to be fatter.
- Alternatively, a resonant high pass filter may do the jobs of both the previous two tips. It can clean up the subs while it fattens the low end.
- If you want to create a bright, airier, breathy master without any harshness, you can apply a boost to the top end with a BAX or a passive-type EQ. If things start getting harsh, use a parametric EQ band to make a slight dip around 3 – 5 kHz, where most of the harshness resides.
- While most digital EQs are clean enough for mastering, a few plugin EQs excel at producing high-frequency sheen, including Kush Audio’s Clariphonic EQ, Mäag Audio’s EQ4, or the Eiosis AirEq. On the other hand, if you don’t want to buy any of these, just use a clean digital EQ, maybe even the stock EQ in your DAW.
Make sure you reference some great-sounding songs from a similar genre to make sure your low-frequency energy is clean but competitive. To learn more about referencing the right way, read this article.
While low-end problems appear frequently in mastering, we often have to deal with reducing the high-frequencies in a master. When mastering for vinyl, it’s best to make sure there isn’t too much high-end information, so vinyl masters are low passed around 16kHz and even loud frequencies in the sibilance range can be difficult to work with. Another instance when you’d use a low-pass filter or high-shelf cut is when the mix is so bright that it makes the song feel like it lacks punch and body.
- Low-pass filters are a bit more forgiving than high-pass filters when it comes to phase shift and group delay artifacts created by the filter. 18dB per octave slopes are common for low-pass filters in vinyl cutting systems.
- Try a BAX high-frequency shelf cut (maybe along with a BAX low-frequency shelf boost) to gently tilt a bright master towards a more balanced frequency spectrum.
- Dynamic EQs or even gain automation on a parametric EQ band may be applied to act as a gentle and transparent de-esser on masters.
Special Stereo EQ Applications
Treating the left and right channels of a master separately can be useful. Acoustic recordings, especially large ensembles recorded using stereo mic techniques may contain drastically different amounts of low- or high-frequency content in each channel of the recording. The solution here is a dual-mono EQ such as iZotope’s Ozone Equalizer. Switch the EQ from Stereo mode to Left – Right (unlinked) and gently EQ one side of the mix until the whole mix sounds more balanced. Keep in mind the intent of the performance, but try to produce a frequency balanced soundstage.
Next, let’s imagine the song you’re mastering suffers from a generally dull top end, but there’s a very loud tambourine on the left side of the mix. If you simply boost the song’s top end, you’ll wind up raising the ear-piercing, ice-pick of a tambourine.
You can fix this in one of two ways:
- Insert an EQ plugin that provides a dual-mono mode and independently process the left and right channels of the mix. On the left channel, solo an EQ band to locate and lower the tambourine frequency that’s causing the issue. After this correction, you can apply a second EQ, like a BAX shelf to cleanly open up the top-end of the mix.
- Plugin Alliance’s bx_panEQ lets you apply an EQ to any discrete position in the panorama. With this powerful EQ you can adjust the standard gain, frequency, and bandwidth parameters, but also set the pan location and width of the area you wish to EQ.
EQ Before or After a Compressor?
The answer is yes. EQ before compressing your master, and then EQ again after the compressor. Generally, engineers use an EQ before the compressor to fix problems with the frequency balance of a mix. A compressor, on the other hand, will likely exaggerate frequency problems that exist in a mix. You may also choose to slightly reduce the low-end of a mix before hitting the compressor so that the kick and bass don’t cause the compressor to over-react.
Use an EQ after the compressor to further sweeten the master and to clean up any coloration caused by the compressor. This is where some engineers do the bulk of their EQing. This is the ‘micro clean up’ phase of their workflow. Personally, I first do the major EQ cleanup work, such as addressing resonances, sibilance, and low-end congestion. Second, I use a compressor for some sound shaping work. Third, I use the second EQ to further sculpt the audio as needed.
EQ Plugin Choices
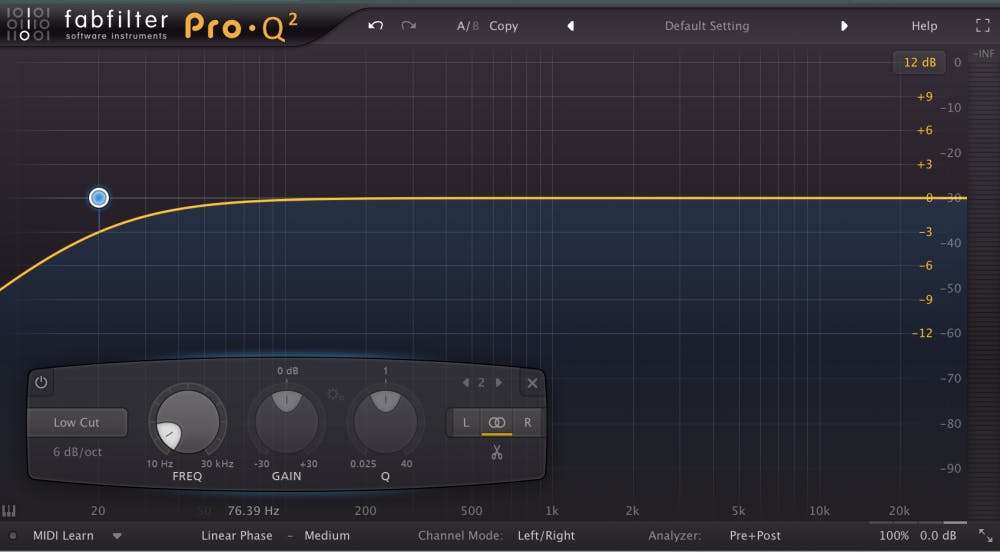
For mastering purposes, you’d usually go for a transparent EQ, right? Well, as with everything else, it depends on the material you’re working with. If all the song needs is a bit of clearing up, then you’d do well to use a transparent EQ, such as FabFilter’s Pro-Q3, so that any processing you apply does what you intend it to and nothing more. If a song needs more weight on the low end or a more silky top-end, then a plugin that emulates a passive EQ, like the Softube Tube-Tech PE1C, might be just the ticket.
For mastering duties, EQs fall into three categories: transparent, colorful, and clean-and-vibey. Here are some suggestions for plugins in each category (some may fall into more than one category, depending on the settings).
Transparent Mastering EQ:
Sonnox Oxford EQ, Massenburg Design Works MDWEQ6, Plugin-Alliance bx_Digital V3, Fabfilter ProQ3, Dangerous BAX (from Plugin-Alliance), DMG Equilibrium
Colorful Mastering EQ:
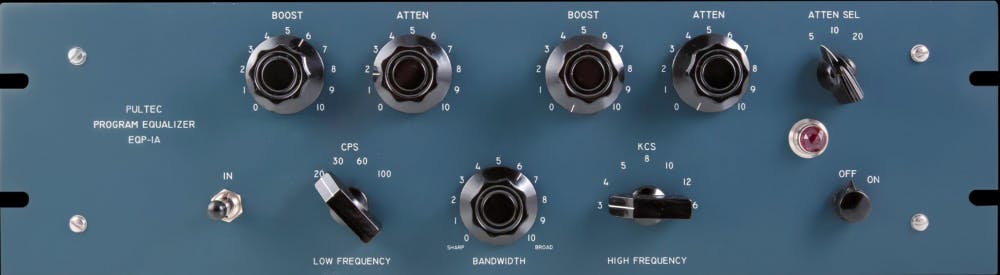
Manley Massive Passive (UAD), Pultec EQP (many options available), Chandler Limited Curve Bender (UAD)
Clean-and-Vibey Mastering EQ:
Millenia Media NSEQ (UAD or Plugin-Alliance), DMG Equilibrium, EQ200 (Plugin-Alliance), UAD Precision EQ, Weiss EQ1 (Softube)
Let’s be real: how many of us do actually ever have the chance to own a hardware Pultec or a Sontec Mastering EQ? Even if a plugin emulation doesn’t exactly equal its hardware counterpart, these emulations are great tools. Don’t sweat the differences, just draw inspiration from a plugins’ pedigree!
If you want to learn more about the different types of EQs, read our blog post about different types of equalizers, and this one on how to use special EQ features.
Conclusion
The equalizer is one of the most important tools one has when mastering, and mastering the EQ is a prerequisite to becoming a skilled mastering engineer. Make sure you learn a few EQ flavors inside-out and back-to-front since they are indispensable tools in your toolbelt, Batman. Make sure you have fun and treat your clients with respect and love. Seriously, love them!


