Achieving studio-quality sound requires precise audio calibration that compensates for acoustic imperfections in your environment. Proper implementation of calibration tools involves measuring your space with a reference microphone, analyzing frequency response data, and applying corrective processing to speakers and headphones. By following a systematic approach—from room preparation to measurement interpretation—audio professionals can eliminate coloration, achieve accurate monitoring, and make mix decisions with confidence. The result: consistent sound that translates well across different playback systems.
Effective Sound Calibration Workflow: Step-by-Step
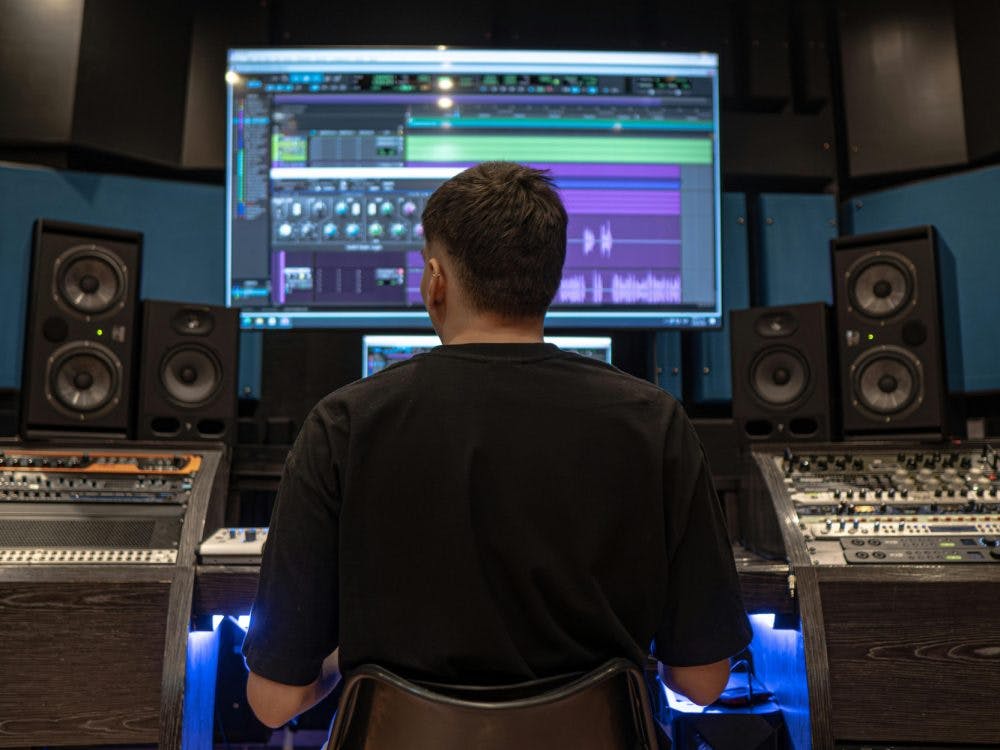
Sound calibration software serves as the bridge between your audio setup and true sonic accuracy. The foundation of proper implementation begins with understanding how sound behaves in your specific environment. Proper calibration workflows typically involve a series of measurements, analysis of acoustic data, and the application of corrective processing to create a neutral listening experience. Most calibration solutions utilize a similar sequence: room preparation, measurement capture, data analysis, and filter application. With the right approach, these tools can transform problematic listening environments into reliable monitoring spaces where critical mixing and mastering decisions can be made with confidence.
What is sound calibration software and why is it important?
Sound calibration software is specialized technology that measures and corrects the acoustic imperfections in your listening environment. It identifies frequency response irregularities caused by room dimensions, speaker placement, and surface reflections, then applies precise equalization to compensate for these issues. The result is a flat, neutral frequency response that accurately represents your audio material.
For audio professionals, this software is essential because it solves the fundamental problem in audio production: what you hear isn’t always what you’ve created. Untreated rooms and uncalibrated monitoring systems introduce coloration that leads to poor mixing decisions. When your playback system is accurately calibrated, your mixes will translate better across different listening environments—from car speakers to headphones to club systems.
Beyond professional applications, calibration software enables audio enthusiasts to experience music as the artists intended, removing the sonic signature of their particular speaker-room combination and revealing details previously masked by acoustic problems.
How to prepare your room for sound calibration?
Proper room preparation is crucial for obtaining accurate calibration results. Start by optimizing your speaker placement—position monitors at ear level in an equilateral triangle with your listening position, with tweeters aimed at your ears. Keep speakers away from walls when possible to reduce boundary effects that color the sound.
Address major acoustic issues before calibration. While software can correct frequency response problems, it can’t fix significant modal issues or excessive reverberation. Basic acoustic treatment—like bass traps in corners and absorption panels at first reflection points—will give the calibration software a better starting point.
Minimize background noise during the measurement process. Turn off air conditioning, close windows, and silence any devices that might interfere with measurements. Even seemingly quiet noises can impact the accuracy of your calibration profile.
Finally, clear the measurement path. Remove obstacles between the microphone and speakers during calibration, and consider the typical usage setup of your space—measurements should reflect how you’ll actually use the room.
What equipment do you need for proper sound calibration?
A successful calibration setup requires several key components. First, you’ll need a measurement microphone with a flat frequency response—preferably one designed specifically for acoustic measurement. Standard recording microphones often have deliberate coloration that can skew measurement results. A dedicated calibration microphone, like the SoundID Reference Measurement Microphone, includes calibration files that account for the microphone’s own subtle response characteristics.
You’ll also need an audio interface with high-quality preamps and converters. The interface must supply phantom power for the measurement microphone and should use the same signal path you’ll use for monitoring. Most calibration software requires that the same audio interface handles both playback and recording during the measurement process.
A sturdy microphone stand is essential for precise positioning during multiple measurement points. For multi-position measurements, consider using a telescoping stand that allows for easy height adjustments. Additionally, you’ll need appropriate cables (typically XLR) and potentially a USB connection for software communication.
The calibration software itself is the final crucial component—it generates test signals, analyzes the recorded response, and creates correction filters for your monitoring system.
How to interpret sound calibration measurements?
Understanding calibration measurements helps you make informed decisions about your acoustic environment. The most common data visualization is the frequency response graph, which shows how your monitoring system reproduces different frequencies. Look for significant peaks and dips—peaks indicate frequencies that sound louder than they should, while dips represent frequencies that are being attenuated.
The waterfall plot reveals how frequencies decay over time, helping identify room modes and resonances. Long decay times at specific frequencies often indicate problematic standing waves that may require acoustic treatment rather than just software correction.
Pay attention to the phase response measurements, which show timing relationships between frequencies. Phase problems can cause smearing of transients and unclear stereo imaging. While some calibration software automatically addresses phase issues, understanding these measurements helps you identify problems that might need physical room adjustments.
Target curves show the desired response after calibration. A perfectly flat response isn’t always ideal for every environment or purpose—some engineers prefer slight adjustments based on room size or musical genre. The difference between your measured response and the target curve indicates how much correction the software will apply.
What are common mistakes to avoid when using calibration software?
The most frequent calibration error occurs during the measurement phase—improper microphone placement. Always position the measurement microphone at ear level in your listening position. For multi-point measurements, ensure the microphone captures positions that represent your actual listening area, not just a single spot.
Another common mistake is over-reliance on software correction. No calibration system can fully compensate for severe acoustic problems. If your room has major issues like standing waves or flutter echo, address these with acoustic treatment before applying software calibration.
Many users calibrate at inappropriate volume levels. Test signals should be played at your typical monitoring level—usually around 75-85dB SPL for professional environments. Calibrating at very low or very high volumes can lead to inaccurate results due to the way our hearing perceives different frequencies at different volumes.
Finally, avoid ignoring the human element in calibration. While measurement data is crucial, trust your ears for final adjustments. Some engineers find that a slight deviation from perfectly flat response sounds more natural in their particular environment.
How to choose the right sound calibration software for your needs?
Selecting appropriate calibration software depends on your specific requirements and workflow. Consider whether you need a solution for headphones, speakers, or both. Some professionals work exclusively with headphones, while others need calibration for complex multichannel setups.
Evaluate integration options with your existing workflow. The best calibration solution should work seamlessly with your DAW and monitoring setup. Look for support for your specific audio interface and the ability to save multiple calibration profiles for different scenarios.
Assess whether you need system-wide calibration or just DAW integration. System-wide solutions correct all audio played through your computer, while plugin-based options only affect audio within your production software.
SoundID Reference from Sonarworks stands out with its comprehensive approach to calibration. It offers support for both speaker and headphone calibration, with profiles for over 500 headphone models. For studios requiring precision, it provides multichannel support for immersive audio setups up to 9.1.6 configurations, making it particularly valuable for Dolby Atmos work.
Sound calibration best practices to achieve professional results
For optimal results, calibrate your system regularly—acoustic environments can change subtly over time due to furniture rearrangement, seasonal humidity changes, or speaker component aging. Quarterly recalibration ensures continued accuracy.
Create multiple calibration profiles for different purposes. You might want a flat reference profile for critical mixing decisions, alongside alternative profiles that simulate consumer playback systems. This approach helps ensure your mixes translate well to various listening environments.
When using SoundID Reference, take advantage of its multiple measurement positions to create a calibration profile that works well throughout your listening area, not just at a single sweet spot. The software can average these measurements to create a balanced profile that sounds good wherever you sit.
Finally, integrate calibration into your complete signal chain. SoundID Reference offers plugin formats for all major DAWs, standalone application for system-wide correction, and even hardware integration with devices from manufacturers like Merging, ADAM Audio, and Avid. This flexibility ensures that every stage of your audio workflow benefits from accurate monitoring, leading to better creative decisions and more consistent results across different playback systems.


