We all look for new ways to up our game. It’s part of being a creative, always striving, trying to be the best we can. For musicians, this involves hours, days, weeks, months, and years of dedicated practice. But what does it mean for recording engineers? Some of the things we can do to improve our results are more straightforward than others, some are more expensive than others, and some take longer than others. The good news is that there are concrete steps we can take to get better results. The title of this article is How To Record Like A Pro In Your Home Studio. I will focus on the three keywords of this topic: record, pro, and home.
While we will cover some gear here, we have previously posted articles on choosing preamps, monitor controllers, treating room acoustics, and monitor types, so we won’t get into details about those. What we will cover is the basic toolkit and mindset of operating a productive and creative workspace.
Learn Your Room
Every room, and each location in a particular room, has its own sonic quirks. Professional recording studios design performance rooms to provide controlled and varied acoustic environments. The most significant thing you can do to improve the recordings in your home studio is to minimize unwanted sonic reflections and learn to take advantage of useful reflections.
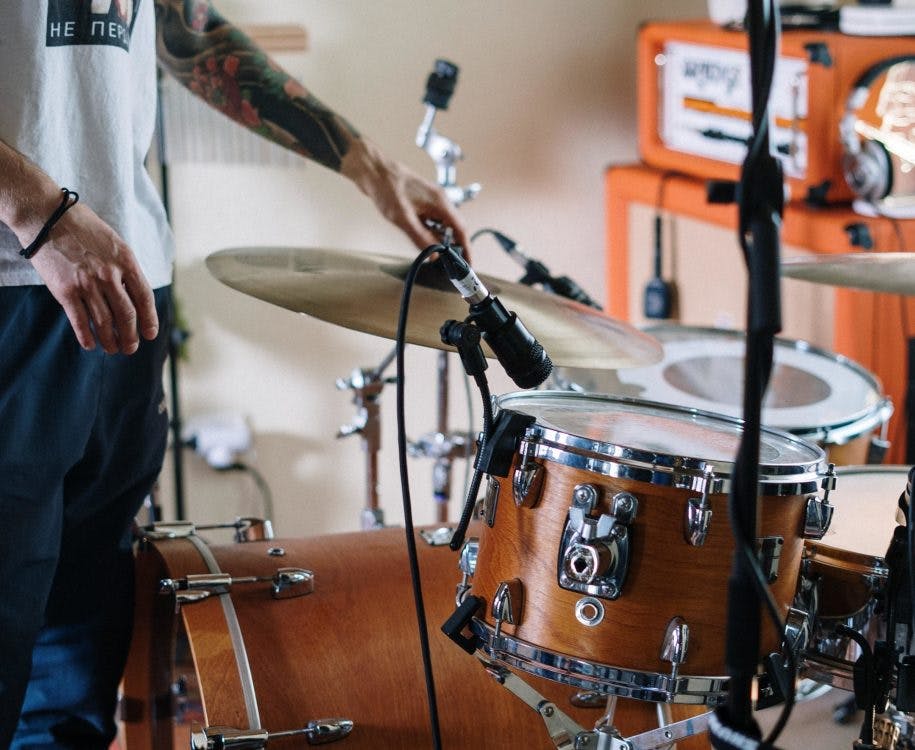
It’s essential to identify the best settings within your home studio for recording. For instance, we usually prefer acoustically neutral areas for recording vocals, but bright, reflective areas may be better for recording drums, percussion, and some acoustic instruments.
Here’s an interesting exercise that is guaranteed to yield useful results. Walk around a room wearing headphones (attached to a long headphone extension) with a mic that is recording into your DAW. Speak (or sing) into the mic at various spots in the room. You will hear right away which parts of the room have neutral, useful, or annoying reflections and ambience.
Be sure to describe verbally where you are standing (or sitting) and also what direction you are facing for each example. Identifying the location will act as a verbal “slate” when listening back to the recording. Referring back to this recording will provide you with a good idea where the sweet spot is for a particular vocal recording.
The same exercise is useful for acoustic guitar, guitar amps, hand percussion or other instruments. Try playing an instrument or placing an amplifier at various locations in the room. Try different mics in different areas and at multiple angles. Like before, record the results with a slate for future reference.
In home studios, we often track and mix in the same room, so if you also have a properly-treated control room, you already have a neutral space for recording. Many artists record their vocals sitting in the “engineer’s seat” in the studio. Even in big studios, this is more common than many realize. Invest in some acoustic treatment and review some of our blog posts about treating your control room and vocal booth.
Smart Room Treatments
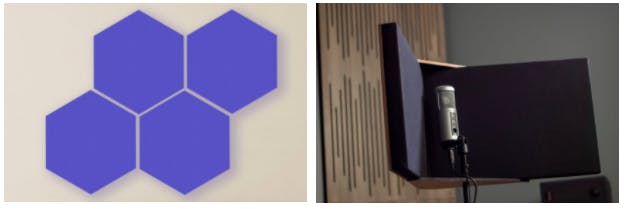
Sound reflects off of the walls, floor, and ceiling, so carpeting and acoustic panels are obvious solutions, but they do come with some cost. An effective and handy way to minimize some reflections is to place bookshelves or shelving units against the walls. The staggered sizes of books and knick-knacks are perfect for dispersing unwanted reflections. The more irregular the book sizes are, the better.
In typical residential rooms for recording, our wall space is often reduced by doors and windows. Remember that acoustic panels can easily be mounted on doors, while windows can be treated with heavy curtains or draperies. Doors and windows can then function as variable acoustic treatment. Simply open or close the curtains and doors to adjust the amount of absorption or reflections in a given area.
If you frequently record vocals, consider investing in a reflection filter or small isolation shield. These act as portable isolation booths around a vocal mic, and significantly reduce capturing unwanted early reflections. Don’t smother the mic with reflection filter or the sound may become a bit boxy. If you hear too much room sound in a vocal mic be sure to try facing different directions as mics will pick up the more room sound from the direction of the singer than from behind the mic itself.
Maximize Your Acoustic Pickup
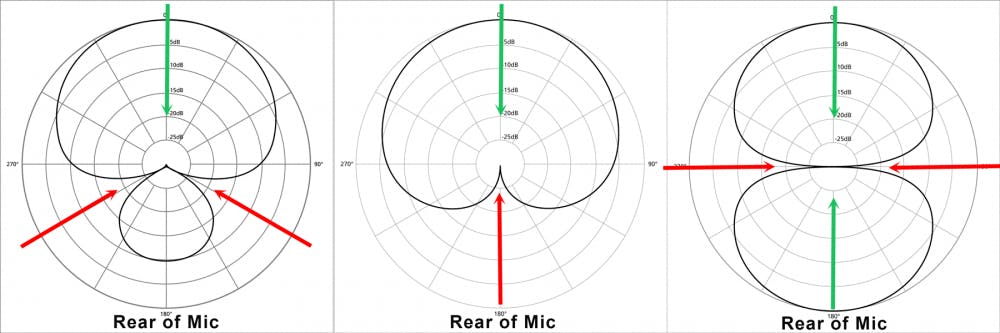
An easy and cost-free way to minimize the negative aspects of unwanted reflections, noises, or bleed when recording is to take advantage of your microphone’s polar patterns. Orient the mic in a way that rejects unwanted sound.
If recording in front of your computer, a cardioid microphone may be an obvious choice. The pickup pattern is most sensitive in front of the microphone and is least sensitive at the back. This setup will, to a large extent, reject the noise from the computer that is behind it while picking up what is in front of it. Keep in mind that some vocal mics are actually super- or hyper-cardioid and will pick up noise from directly behind them. Oftentimes, a figure-8 mic placed with its side facing the offensive sound provides the most rejection. At one of my friend’s home studios, we leaned a clear plexiglass sheet in front of his outboard rack to muffle the sound of the fans in the gear, but we could still see the meters.
Microphones with figure-8 polar patterns pick up sound equally from the front and rear axis. Sounds approaching from the sides, however, are not picked up. This pickup pattern is ideal for recording two singers facing each other, with one on either side of the microphone.
Don’t be afraid of trying your mic in omni mode, especially for female vocals. While that pattern may pick up extra room sound, the flat frequency response and lack of proximity effect (bass boost) often help vocals sound natural.
Don’t forget that the microphone’s pattern reaches above, though not usually below, the mic. Therefore, if a singer or guitarist is seated on a low chair, point the top of the mic away from the floor and the performer is standing and the mic is near the ceiling, try hanging the mic upside-down to avoid reflections off of the ceiling.
If you are stuck recording two performers in a small room and you are worried about bleed, try to capture both performers with a single mic or a stereo mic setup. You may spend some time finding a position that balances both performers, but it will likely result in a better-sounding recording than if you wound up with excess bleed between two miked performers. A simple rule of thumb is that any bleed needs to be 10 dB quieter than the main sound on a microphone, or you will run into trouble. This is often described as the “3:1 rule,” but the level difference is more important than the actual distance.
Build Your Mic Locker
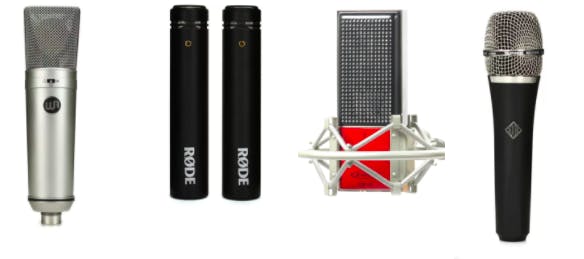
Microphones are the DNA of recording studios. No single mic, however, will work in every context. If you have budget constraints and still need to cover your bases, invest in a few moderately priced mics instead of one super-expensive mic. For the price of one famous German vocal mic, you can easily afford an excellent large-diaphragm condenser mic for vocals, a modest pair of small-diaphragm condensers for instruments, and even a dynamic mic or two. If you have a special need for a particular mic, consider renting or borrowing that mic, as the rental cost for even rare microphones may be well under $100 per day.
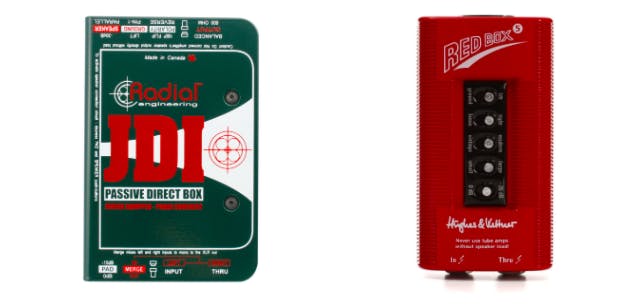
Plug it In
If you often record electric guitar or bass you may need a DI box or two and even some guitar amps. You may also want to invest in a load box or some speaker emulators so you can capture the sound of your guitar amp without the noise of a speaker cabinet. Radial Engineering, Hughes and Kettner, Two Notes, Palmer, and many other companies make devices that will optimize guitar and bass amps recorded directly into your audio interface.
Creature Comforts
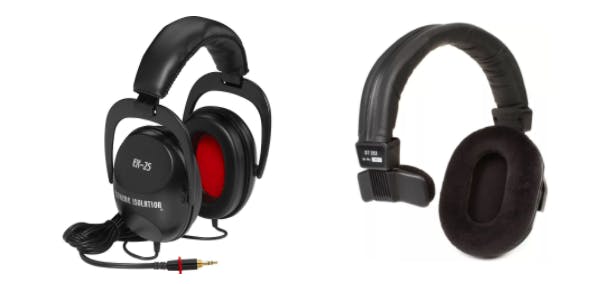
The best way to guarantee a quality recording is to have a great performance to record. The best way to ensure exceptional performances is to maximize the performer’s comfort and ability to hear everything properly as they are tracking. Different performers prefer different types of headphones.
For example, singers and string players may prefer open-back or single-ear headphones, whereas drummers usually prefer closed-back headphones that block the room sound. Some performers may simply prefer the physical fit or sonics of one pair of headphones over another. Make sure to have a selection of both open-backed and closed-back headphones on hand.
More than once, I have worked with a singer who was uncomfortable with the sound of their headphones until I flipped the phase of their vocal in the monitor path. If the headphones are out-of-phase with the acoustic sound the singer hears, it can result in confusing frequency and power cancellations.
Pre-pared Equals Pro-pared
Experienced professionals know what to expect and are prepared for whatever comes up. Pros keep a handful of adaptors and connectors of all sizes, shapes, and genders on hand. Headphones, in particular, often require adapters to go from 1/8″ to 1/4″. I’m always misplacing mine, and like to keep extras on hand. Keep in mind any gear someone may bring in and where you may need to patch it, like into your patchbay, interface or mic preamp.
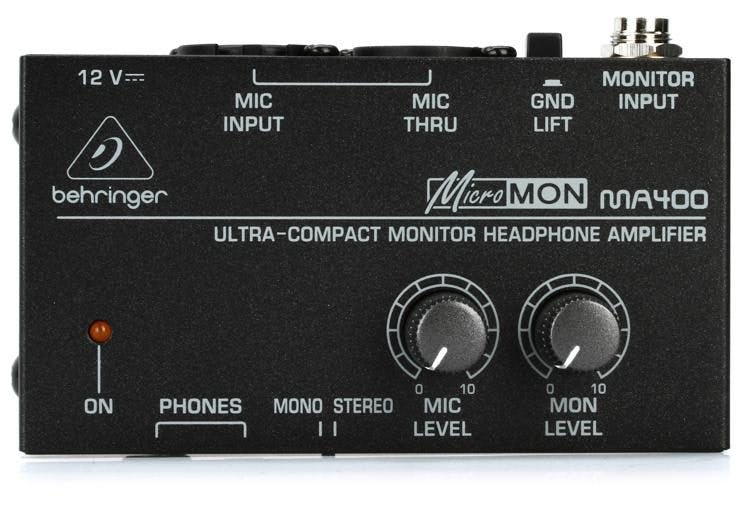
We already mentioned the need for different types of headphones and I also have three multichannel headphone amps in my home studio. Two are in regular use and one is a spare. A dedicated headphone mixer can be easier to use in the heat of a session than developing a CUE routing mix in your DAW. Some headphone amps even have a “more me” level control for the artist. Remember, if an artist hears themselves better, that usually leads to better performance; and, ultimately, a better recording. I also have a few headphone extension cables on hand, which come in handy if the recording sweet spot is far from my audio interface or headphone amps.
Still on the subject of headphones—what about a headphone splitter for guests? I often have performers bring along a friend to the studio. While they are tracking, both the artist and I monitor through headphones. A simple headphone splitter or Y-cable allows the guest to hear what I am hearing as the recording is taking place, without me having to set up a separate mixer
I learned early on to keep extra cables and miscellaneous spare parts around. They are always needed at the most inopportune time. Guitar and mic cables invariably fail in the middle of a session. Maybe a guitarist forgets a cable or needs an extra to patch in some pedals. Often the guitarist brings cables that are simply too short. I like to have 2 spares for every cable I think I’ll need. So if you usually use one or two mics, have at least 5 or 6 mic cables handy.
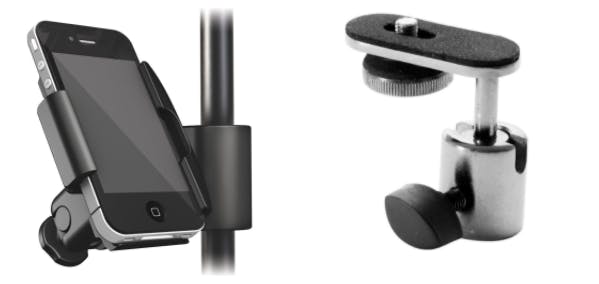
Mic stands! Have a few different sized stands and a few spares. Make sure your large mic stand can safely hold your vocal mic without tipping over. Cheap mic stand threads are always stripping, so invest money in at least a few decent stands. As a bonus, with an inexpensive adapter, a spare mic stand can double as a camera or iPod stand. Don’t forget about a music stand or two, which can also double as laptop stands.
Speaking of cables, it’s a nice touch to have some extra phone chargers for guests (and yourself) and also some spare USB and Thunderbolt cables for hard drives and devices like midi controllers. Spare extension cords and power strips often come in handy.
And while we are in Boy Scout mode, always be aware and even proactive about things that wear out regularly. Headphone ear pads should be replaced or refreshed every year and batteries for wireless mice, keyboards, and remote controls should be replaced regularly. And don’t forget to keep a multi-head screwdriver handy. You never know when you might need to get something out of your rack.
Improve Yourself
We all love to acquire software and hardware, but don’t forget to spend some time learning how to be better at what you do. We are all spending more time at home, and there is a plethora of free (and paid) online training—webinars, seminars, YouTube, and Facebook live feeds. Waves, Izotope, and Synthax/RME, among many other companies, continually release free educational content.
Now is the time to dig into your DAW’s included plug-ins and learn how to get the most from them. Learn how to capture better recordings on the way in. Tracking the right sound, perhaps even with some effects processing, will free up computer power when mixing, and also will train you to make more focused decisions at the tracking stage.
Improve Your Setup…
Calibrate your studio monitors and headphones so that you can trust what you are hearing. While solutions like SoundID Reference from Sonarworks are well regarded for mixing and mastering, they are invaluable as well when recording. The better you can hear, and therefore capture the initial recording, the easier the rest of your production will be, from arranging to editing, mixing, and mastering. Recording with calibrated monitors (or headphones) allows you to make the best, most accurate decisions in mic choice and placement.
… and Organization
Devise a file backup strategy, like the one described in a previous post by Tiki Horea. Storage is cheap. There is absolutely no reason to lose any data. And understand the distinction between backing up and archiving. I generally keep at least two or three separate backups of my work in progress (including one off-site). Once a project is finished, I store it on a different drive, dedicated to archiving completed material, possibly with all processing committed. No matter that you are running a home studio, it is expected that you can retrieve and recall sessions and projects at any time in the future.
Maintain a neat and organized workspace. Working at home is no excuse for a messy environment. Keep cables rolled up and stored neatly. I have a hanging pouch on my wall for easy access to my most necessary cables. I keep the rest in drawers and cupboards. If your home studio doubles as a home office, keep your bills and bank statements off your desk. I have a couple of dedicated file drawers specifically for this. Clutter is distracting and off-putting to guests. You should look forward to getting to work and not be distracted by clutter and chaos.
Easy Things
Finally, one easy way to enhance your overall home studio recording process is to make sure you are comfortable working. Ergonomics, especially computer height, is vital for a comfortable workflow. It’s essential to position yourself optimally for the microphone you are using. So make sure you don’t have to look up or down to see your computer screen. If you are reading from a piece of music or lyric sheet, make sure the lighting is sufficient, so you are not straining to see. Every aspect that enhances the performer’s comfort potentially enhances your recordings.
We spend a considerable amount of time in our studio chair, at our desk, so make sure your furniture is suitable and comfortable. Maintaining a healthy and comfortable body position will help avoid stress-related injury and general fatigue—for you and your guests.
Put some of these tips to work, and you will be recording like a pro in your home studio in no time.


