
The tips in this article apply to working on monitors, as well as ‘phones, but headphones act as a sort of magnifying glass, so this is an opportunity to really home some reverb tricks.
Be sure to review some of our other blog posts for more tips on creating a sense of space with reverb, ambience, and delay, as well as our articles about mixing on headphones vs. speakers.
The Tail of Reverb
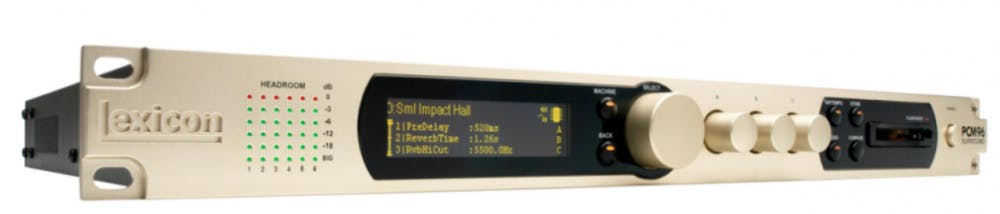
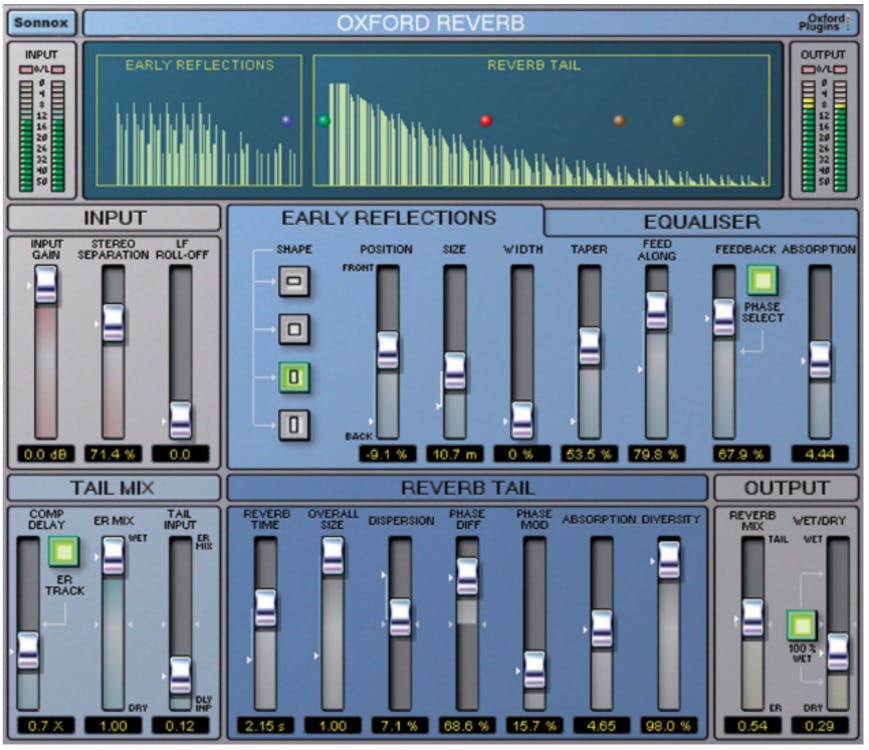
Headphones really highlight the reverbs in a mix and since you can hear those reverb tails so clearly, you’ll either be tempted to go overboard because the reverb sounds so good, or you might dial back the amount of reverb because it’s so highly audible. What’s a mixer to do? Beyond the appropriate volume, or quantity, of the reverb, we need to consider the quality of the reverb. Quality in this case refers to the density or sonic texture of reverb as it decays over time.The parameter that controls density varies with different manufacturers. For example, on Lexicon reverbs, “Definition” controls density, whereas Sonnox plugins refer to this parameter as “Dispersion.” We usually prefer reverbs with low-density reverb tails. Think of low-density reverb like Swiss cheese, with lots of holes. High-density reverb is opaque like cream cheese.
Reverb Is Not Just for Speakers
When played through speakers, reverb in a mix combines with the natural reverb of the room in which you are listening. If you use a thick, creamy-smooth reverb, it may combine with the room’s reverb and pull ambient instruments away from you, into the mix. The larger the listening space, the more its natural reverb will combine with the reverbs applied in the production. The holes in a low-density reverb will be filled with the room reverb, creating a seamless join, with the effect of bringing wet sounds closer to the listener. The isolation afforded by headphones mostly removes this phenomenon from the equation.
I should mention that I am mainly covering the main reverb for the lead instruments in a typical production. For featured reverbs, low-density reverbs afford us the luxury of turning the volume of the reverb up, without overwhelming the mix, especially for listeners on speakers in somewhat reverberant rooms. High-density reverbs certainly have a creative home in any mix. Dense, short reverbs typically add size or character that the listener feels, but the longer, low-density reverbs will add the sustain and reverb effect that we hear as a distinct element.
Consider also that long, smooth reverb tails require higher mix levels in order to be heard, which means that the reverbs will take up more space in the mix. As a side-effect of being loud, these reverbs may mask some of the elements of the mix. For this reason, I like to play the length of a reverb against its volume. Long reverbs get turned lower, while shorter verbs get turned up. But where to start?
When setting the length of a reverb tail, try setting it to end musically. This often means that the length of the reverb should match a musical note value. For example, if a reverb tail continues for 8 beats, but can only be heard for 4 beats, end the tail on or slightly after the fifth beat. Stopping the reverb short before the downbeat could create an awkward empty space, while extending it slightly past the downbeat will have the effect of a wave pushing the rhythm to the next measure.
There are times where a long reverb fills in the space around other instruments. A good example of this would be the vocal treatments used by The Weekend. In sparse arrangements, a very long reverb tail can become like a synth pad that carries the tonality of the singer or lead instrument over several seconds. While not as common as a timed reverb fade-out, textural long reverbs have become popular in electronic and dance productions. Be careful that these reverbs do not eat up too much space in your mix!
Widening Effects of Reverb
A trick with reverb for adding stereo width to a sound is to use two mono reverbs, instead of one stereo reverb. Send the instrument to both reverbs and pan one reverb left, the other right. The goal is to create a sense that something different is happening on each side. Be sure that this effect doesn’t confuse the dry sound, though.
For dual-mono reverbs, I would suggest adding 10 to 20ms of extra pre-delay to one side to take advantage of the stereo spread provided by the Haas effect. Another stereo effect can be produced by using a plate reverb on one side and room or even a spring on the other side. You may use different plugins set to similar lengths, or simply use the same plugin with different settings on each channel. Again, the idea is to create either a small timing difference or a small color difference on each side.
You can further expand on this concept by using three (or more) mono reverbs. This technique is credited to 23-time Grammy-winning engineer Al Schmitt (Steely Dan, Toto, Henry Mancini), who would use the eight real chamber reverbs at Capitol Studios and spread several mono reverbs across the stereo field. Each section of a big band or orchestra would be assigned to a reverb that returned to the same pan location as the dry sound. The trumpet section on the right side would use the reverb panned to the right side, while the singer in the center used the reverb panned center.
Since we’re mixing on headphones, it will be even easier to hear the effects of the multi-mono reverb trick, but before you go all Al Schmitt on your tracks, try using the dual mono reverb to widen synth pads. Save the three mono reverbs for vocals, with a spring reverb up the middle, a large room on one side, and a medium room on the other. For a good jumping-off point, set a 50ms pre-delay on the center reverb, 8ms on the large room, and no pre-delay on the medium room. Of course, you should experiment. For records that require less obvious reverbs, try two mono reverbs set to early reflection settings with no tail at all.
Bonus Tip: The Abbey Road Reverb Trick
Long reverbs can become annoying or harsh when loud high frequencies hit them—like vocal sibilance! At Abbey Road studios, it’s been a long-time practice to filter out high and low frequencies on the input to the reverb aux channels. This EQ creates a subtle, natural-sounding reverb. Try this on your vocal reverb: Set a high-pass filter at a -12dB per octave slope to cut everything below 600Hz or so and a low-pass filter to cut everything above 3-6kHz. Tweak the filters until you’re happy et voilà, the Abbey Road reverb trick.

The important thing to listen for is how the cuts to low and high frequencies make you feel. For example, as you cut lows, pay attention to the increased clarity and any change to the emotional impact and feel. As you increase the hi-pass filter on the reverb, you may find the vocal sounding bigger, more intimate, and even more nuanced. With high-frequency cuts, remember that 3k-6kHz is a wide range of options. You might want to leave frequencies up to 6kHz to provide a sense of air to an instrument or breathiness to a female vocal. Each sound is unique and requires some experimentation with its associated reverb effect.
If you would like a bright reverb, but the sibilance from the vocal becomes distracting, try inserting a deesser before the reverb. The deesser will soften the harsh highs of the vocal, allowing the reverb to be loud, but not overly bright.
What’s Next?
Remember that when mixing on headphones, you can hear low-level sounds more clearly than when listening on loudspeakers. This means the effects and ambiences will be more obvious on ‘phones and slightly diminished on speakers. Your job is to find a happy medium, where the music feels great on all playback devices. To keep things interesting, I like to have a few mix tricks (like wide-panned echoes) that show up well on headphones, but won’t be missed on speakers. Use the tools you have, but be aware of the pitfalls!
If you’ve been struggling to achieve mixes that compete with the pros, working on headphones, especially in conjunction with SoundID Reference software provides a cost-effective and accurate monitoring solution. If you mix entirely inside the box using headphones, you have the added convenience of being able to “take your control room with you” to mix anywhere that is convenient.
Mixing entirely in headphones can solve many environmental problems, but they do not entirely preclude the notion of mixing on monitors. We find that a combination of the two is the best solution. For those who desire to work mainly in headphones, you might want to try out software like Goodhertz CanOpener Studio, which emulates the feel of working on monitors by providing the inter-aural crosstalk that monitor speakers provide.
Some related resources:
- Creating Ambience and Depth with Reverb by Barry Rudolph
- Delay Magic by Barry Rudolph
- Mixing on Headphones vs. Speakers by Nick Messitte


