
There is no clear formula for what effects you should include on a master fader track. It seems there are as many answers as there are engineers. Some factors that may influence your choice include the musical genre being mixed, whether the project will be mastered by you or an independent mastering engineer, your particular software arsenal, the intended file format for dissemination or the intended purpose of a bounce (e.g. final mix or a draft for client feedback). This article will examine a few different approaches and some common practices.
What do Mastering Engineers Expect?
The only clear agreement among the mastering engineers I spoke to seems to be that they will work with whatever they are given. Some expressed a preference in bounced tracks from sessions without any inserts on the master track. The logic being that mastering suites that use outboard gear or high end mastering software for EQ, compression, sample rate conversion, etc. are much better equipped for those processes and having to deal with improperly compressed or squashed bounced tracks will result in less than optimal results. Others preferred to have two versions delivered, a quasi-mastered bounced track and an unprocessed bounced track or even stems. This way the intention of the engineer or artist can be conveyed, while still giving the mastering engineer a clean slate with which to work. In any case, all agreed that a reference mastered track in the same genre is useful and desired for comparison purposes.
Down and Dirty Bounces for the Client
As an engineer, you may be asked for a quick bounce of a mix in process so that the artist can hear some ideas and make choices as to structure and arrangement, instrumentation and orchestration, synthesizer patch, guitar effects, etc. Artists often have no idea what the mastering process does to sweeten a mix and may be disheartened when hearing an unfinished or unmastered mix. So applying temporary or quasi-mastering processes can prevent undo anxiety in this situation.
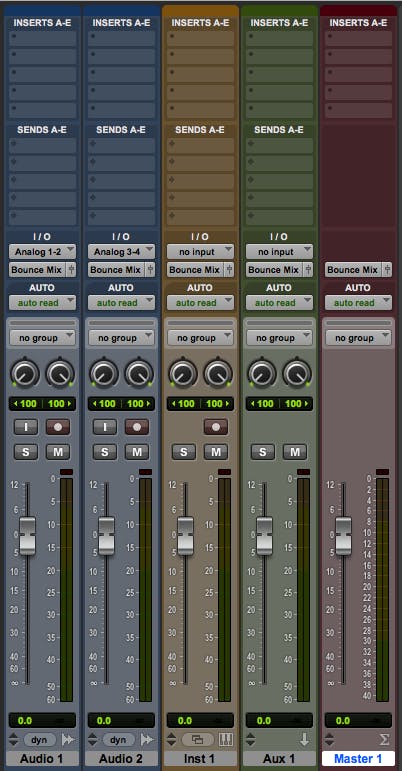
Difference Between a Master Fader Track and Other Tracks
A Master Fader is a track that sums all other tracks in a session, including AUX tracks that may have reverbs and delays, MIDI Instrument tracks and regular audio tracks. It is the final stage before output and normally the source of a bounced track. There is some disagreement about whether or not bouncing (or printing) to an existing track in session offers better results than bouncing to a newly created file saved to disk. This may be DAW dependent and worth investigating and comparing for yourself. Master Fader tracks also have no external input and or available sends, which makes them unique compared to other types of tracks.
Common Types of Effects Used
So what are the typically effects you might use on a Master Fader? This to a large extent depends on genre and your particular software arsenal. Below are some inserts you might try in the order of a typical signal chain:
NOTE: Most effects in a mastering chain will avoid extreme parameter settings and instead introduce small tweaks to the dynamics or spectrum. Nonetheless, even small changes in dynamics will have a pronounced sonic result.
Compression – a small amount of compression on the master fader will act as a sort of “glue,” lending cohesion to the mix as a whole.
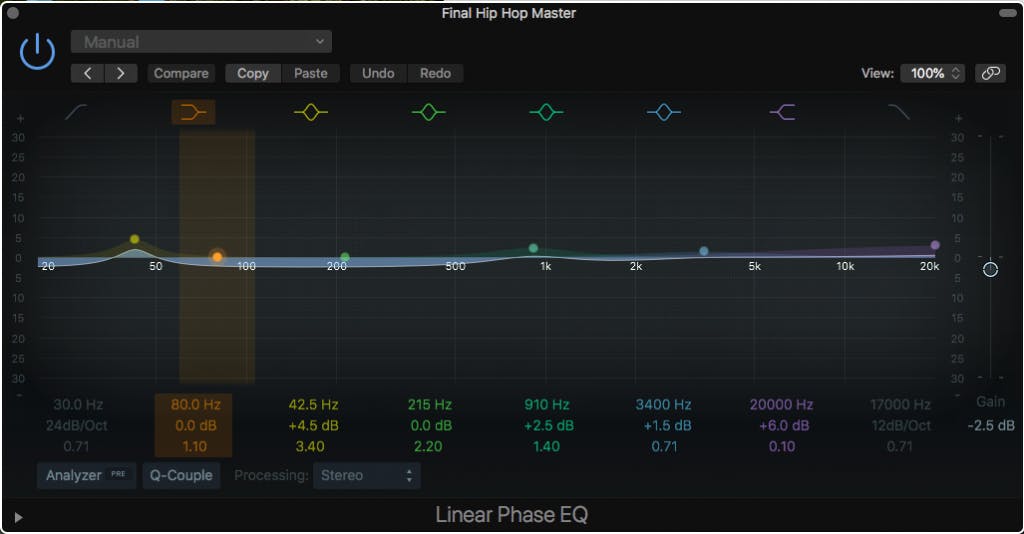
Linear Phase Parametric EQ – these types of EQs operate like standard parametric EQs while maintaining phase coherence. Some EQs can be set for linear phase such as FabFilter’s Pro Q 2. Because of increased latency, it is not recommended to use this type of EQ for recording or playing software instruments live. Settings here should be subtle, since each track has been EQ’d individually. This is intended to correct imbalances in the summed spectrum. Some engineers like to EQ before and after the compressor, or use a High Pass filter before compression to eliminate muddiness below 30Hz and to avoid overworking the compressor, which could over react to low end energy. Another method to tighten up the low end is to monoize frequencies below 150Hz or so.
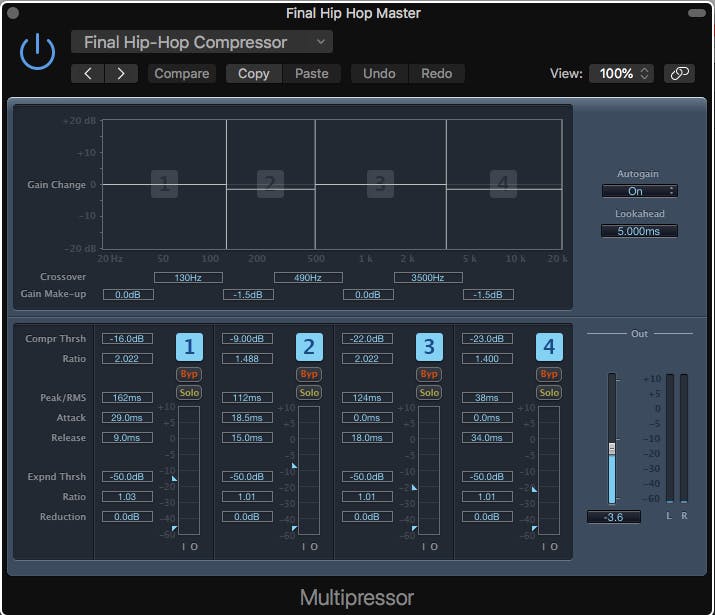
Multi-band Compression – these compressors allow you to isolate and treat the dynamics of different ranges of the spectrum that may be problematic in the mix.
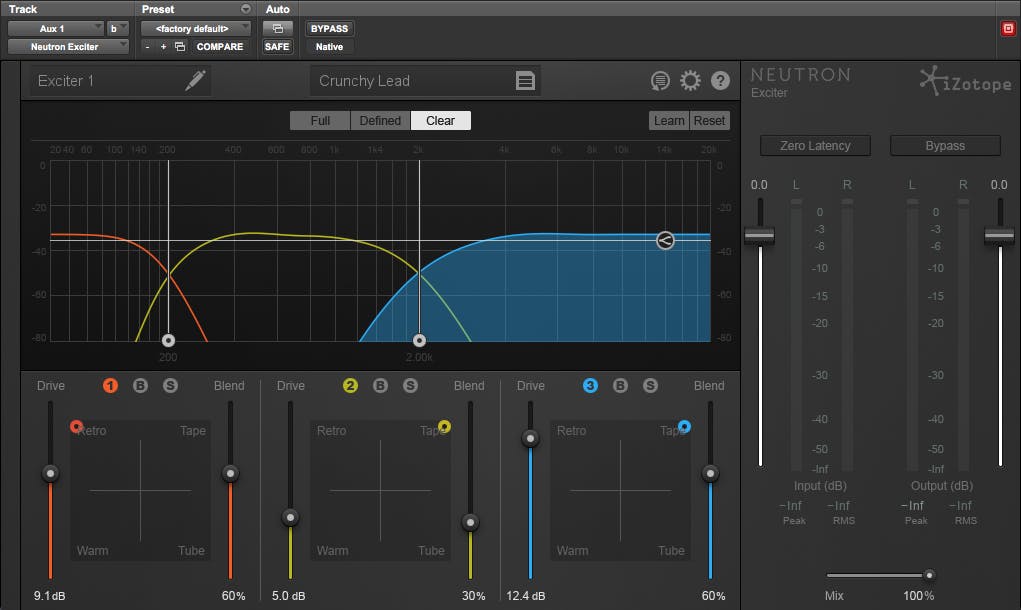
Exciters – these processors add touches of distortion and related upper harmonics that can make a mix sparkle in just the right way. Subtlety is the key. Conservative use of Multi-band Saturators and Distortion effects in the low end can also be effective for thickening up a mix.
Imagers – multi-band imaging plugins can add stereo width to certain parts of the spectrum, usually applied to middle or higher frequencies. They can also be used to narrow a mix which may be exhibiting phasing issues as measured by a correlation meter.

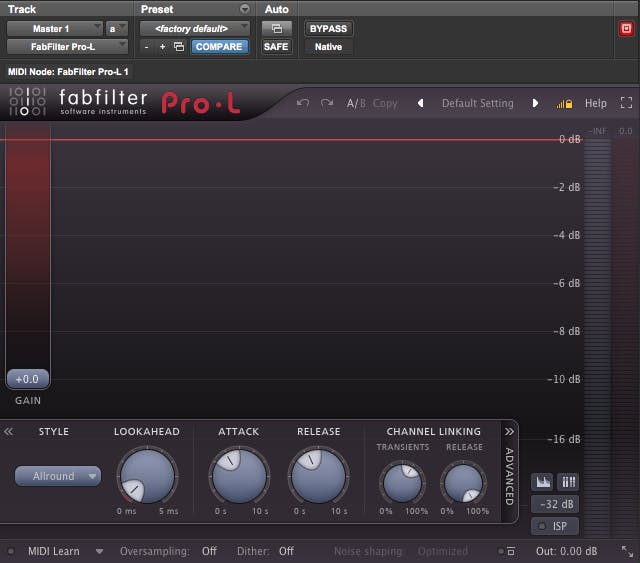
Adaptive Limiter – typically the last processing effect in the chain, limiters have a direct effect on increasing perceived loudness and can control the maximum level of the mix. Lookahead settings allow the processor to act more transparently, but will add latency, so should never be used while recording.
Meters – There are many metering plugins on the market which can provide information about loudness levels in terms of the many measurement standards that exist, peak and true peak levels, phase and correlation, spectrum, etc. Rather than changing the signal, these plugins give you a window into the specifications of the mix, which can help pinpoint problems in amplitude, spectrum or phase that may be hard to determine otherwise. They can also help you to achieve the deliverable specs required by the client or dissemination method.

Reference 4 – this plugin by Sonarworks is crucial for hearing a true flat response, either from the speakers in your particular room or your headphones. By activating custom corrective EQing, Reference 4 will modify the signal such that the acoustics of your room or the particular brand and model of your headphones, do not color the sound, so that your mixing and mastering decisions are untainted by your listening circumstances. This allows for mixes that translate well to other listening environments. Just be sure to HARD BYPASS Reference 4 (as opposed to using the Bypass button in the plugin) or remove it from the signal chain before creating the final bounce.

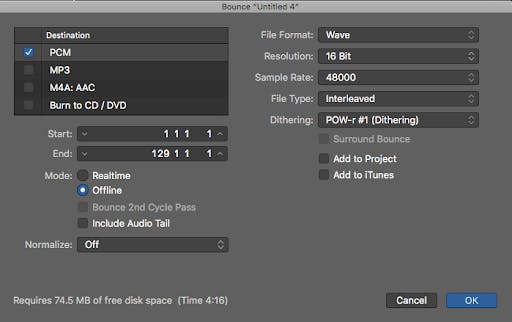
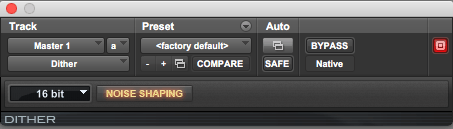
Note About Dithering – Dithering is used only when it is necessary to decrease the bit resolution (typically from 24 bit to 16 bit for creating CD-ready files). Since dither actually adds noise to a file, it should only be used once and it is best to apply dither when converting a mastered file as opposed to from the mix session. It is sometimes offered as an option in the bounce dialog box of a particular DAW or as a plugin to be added as the very last insert or only insert in the chain.
Mid-Side Processing
Many of the effects discussed here have Mid-Side processing capabilities which allow you to processor the middle and sides of a stereo mix independently. This approach is the preferred method of many engineers, particularly for spectral and dynamic processing, since it is possible to achieve greater definition, stereo width and depth of field.

Mastering Suites and Preset Effects Chains
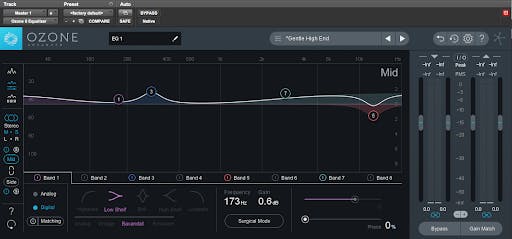
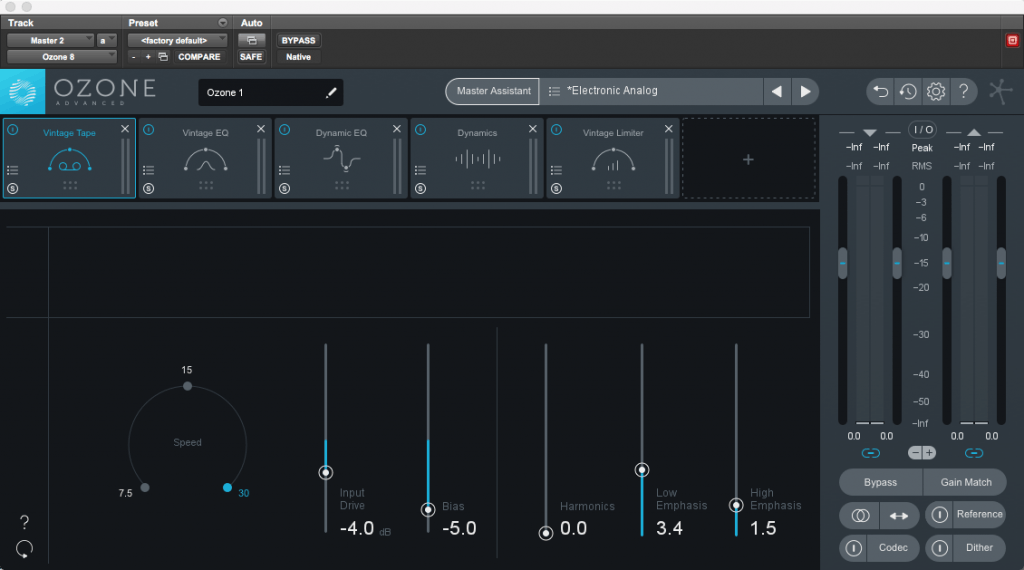
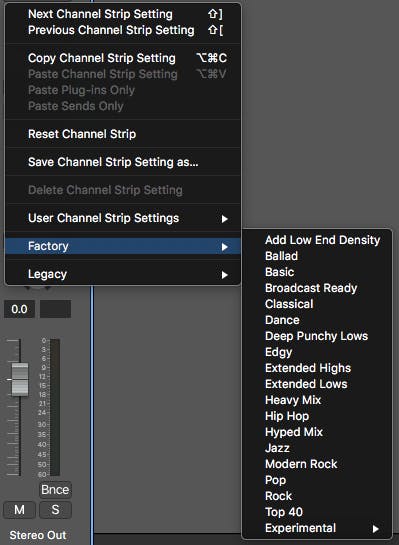
Some DAW’s such as Logic Pro, include preset mastering effect chains that are genre specific and can be good starting points. Likewise, mastering suites and bundles such as iZotope’s Ozone 8 have presets that offer a wide range of applications from subtle spectral balancing or emphasis, to drastic genre-based processing and more. These suites offer a choice of effects chains all within the confines of one plugin enabling easy access to all parameters.
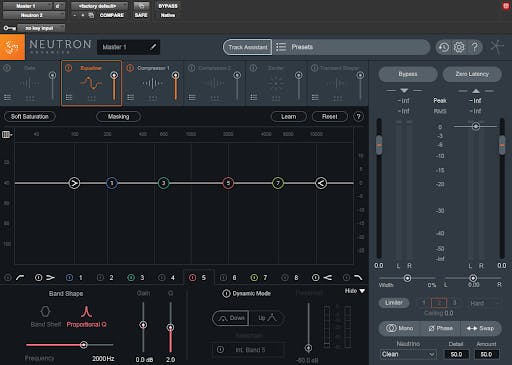
Artificial Intelligence
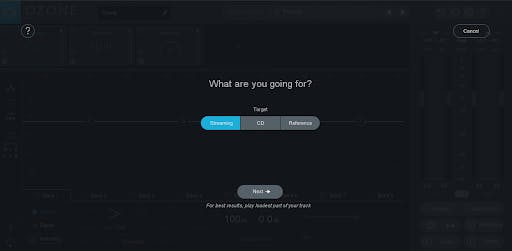
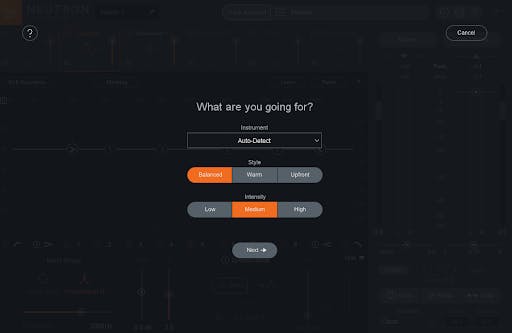
Ozone 8 uses artificial intelligence to analyze a user defined reference track and offer suggested settings and plugins for mastering your track in a similar way. An on-line service called LANDR uses proprietary algorithms to master your uploaded track in seconds. iZotope’s Neutron EQ uses computer learning technology to mediate frequency masking issues between user defined tracks. The Neutron 2 Track Assistant will also generate what it thinks is an appropriate effects chain for a given track based on “listening” to it and some user defined parameters. Whether these artificial intelligent and learning algorithms will someday replace mastering engineers has been the subject of debate and concern for some. What is certain, is that there are now more tools available for making your tracks sound better than ever before. Personally, I believe the human element will never be completely removed. There remains a craft and level of artistry in audio engineering that will never be replaced by the sterility of an algorithm. But there is no doubt that these tools can you get close to where we want to be faster, providing more time for experimentation and tweaking, which can only be a good thing.

Conclusion
There is no single solution for master fader effect chains or even agreement as to whether they should be used or not, if a bounce is destined for a mastering facility. And there are many effects not mentioned here such as dynamic EQs, vintage compression simulators, or Pultec-style EQs, which, among other things, are great for magically and transparently adding warmth and air to a mix. But hopefully this article has provided some insight and a starting place, so you can refine your final mixes and take things to the next level.


