Creating professional mixes doesn’t require a fortune in high-end gear. The truth is, you can make excellent mixing decisions by focusing on room acoustics, monitor placement, ear training, and smart workflow strategies. While expensive hardware has its place, proper technique and affordable software solutions like audio calibration tools can often have a greater impact on mix quality. By understanding the fundamentals and leveraging available technology, even modest studios can produce industry-standard results that translate well across playback systems.
Understanding the challenges of making mixing decisions
The primary challenge for any mixing engineer is achieving translation – ensuring your mix sounds consistent across various playback systems. Limited budgets often create uncertainty about whether monitoring limitations are causing poor mixing decisions.
Many producers believe expensive hardware is necessary for professional results, but this is largely a misconception. Budget constraints can actually force you to develop better critical listening skills and more disciplined approaches. The reality is that countless hit records have been mixed on modest equipment by engineers who understood their tools’ limitations.
The true challenges aren’t necessarily hardware-related but involve understanding your acoustic space, learning to trust your monitoring setup, and developing systematic approaches to decision-making. These skills are far more valuable than any single piece of gear.
Why is room acoustics more important than expensive gear?
Room acoustics have a significantly greater impact on your mixing decisions than hardware quality. Even the most expensive monitors will perform poorly in an untreated room because acoustic problems distort what you hear, leading to compensatory mixing decisions that don’t translate elsewhere.
Basic acoustic treatment doesn’t require a massive investment. Start with addressing primary reflection points using affordable foam panels or DIY absorbers made from rockwool insulation and fabric. Bass trapping in corners helps control low-frequency buildup – a common problem in smaller rooms.
Consider these budget-friendly acoustic solutions:
- Place bookshelves strategically to break up reflections
- Use thick curtains over reflective surfaces like windows
- Position furniture to reduce standing waves
- Create a simple reflection filter behind microphones using pillows
A modestly equipped studio in an acoustically balanced room will consistently outperform expensive gear in a poor acoustic environment.
How can proper monitor placement improve your mix?
Correct monitor positioning can dramatically improve sound imaging and frequency response without costing anything. The equilateral triangle setup forms the foundation of proper monitor placement – your head and two speakers should form a triangle with equal sides.
Position your monitors so tweeters are at ear level when you’re seated at your mixing position. This alignment ensures high frequencies, which are more directional, reach your ears accurately. Maintain about 1-1.5 meters between monitors depending on room size.
Keep monitors away from walls to reduce bass buildup – ideally 30-50cm from rear walls and at least 1 meter from side walls. If space constraints prevent this, use acoustic treatment behind speakers or consider low-frequency absorption.
Finally, angle monitors toward your ears, so they point directly at your listening position. This simple adjustment can significantly sharpen stereo imaging and clarity without spending a penny.
What techniques help train your ears for better mixing?
Ear training is perhaps the most valuable investment for improving mixing decisions, requiring only time and dedication. Reference track analysis should become a regular practice – study commercial releases in your genre by looping sections and focusing on specific elements like bass, vocals, or spatial placement.
Frequency recognition exercises help develop your ability to identify problematic areas. Free online tools let you practice hearing specific frequency ranges, making it easier to spot and address issues in your mixes.
Develop consistent listening habits by:
- Using the same volume level for critical listening sessions
- Checking mixes at both loud and quiet volumes
- Listening on multiple systems (studio monitors, headphones, earbuds)
- Taking regular breaks to reset your ears
Create a “sound dictionary” by documenting descriptive terms that match specific sonic qualities. This vocabulary helps articulate what you’re hearing and builds a mental framework for faster troubleshooting.
How can software solutions replace expensive hardware?
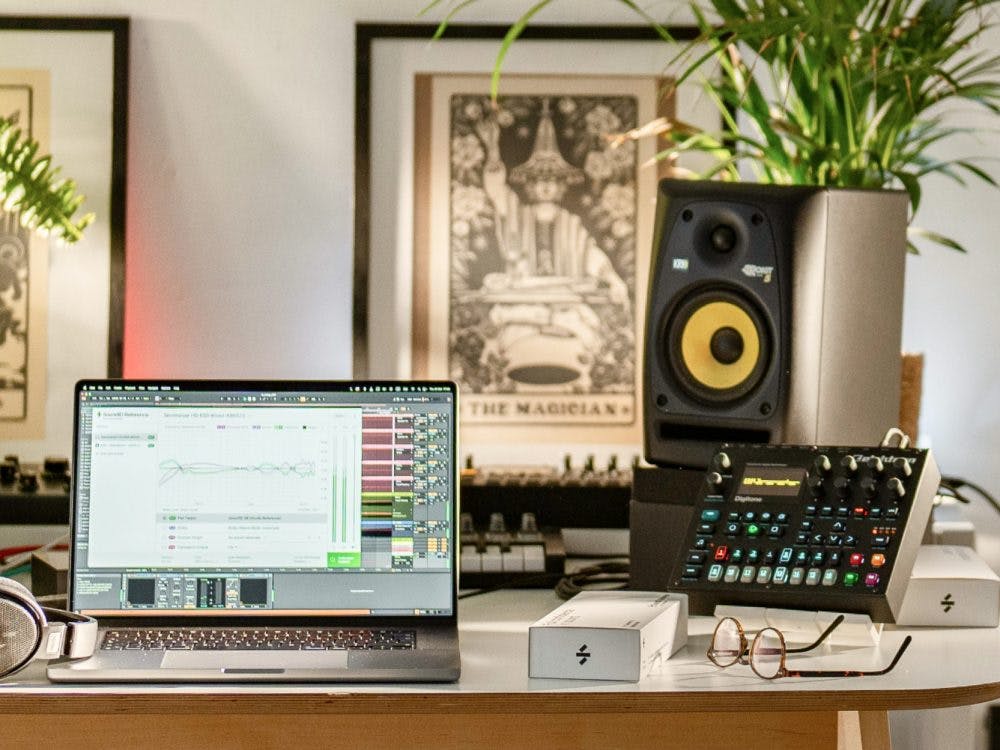
Software innovations have democratised mixing by providing affordable alternatives to traditional hardware. Audio calibration software like SoundID Reference has transformed mixing workflows by correcting frequency response inconsistencies in both speakers and headphones.
Unlike hardware solutions that may address only specific frequency bands, calibration software creates a comprehensive correction profile tailored to your specific equipment and room. This ensures accurate sound reproduction across your system, improving decision-making and mix translation.
SoundID Reference from Sonarworks exemplifies this approach, enabling you to measure your listening environment and apply precision corrections that would be impossible with hardware alone. With over 500 supported headphone models, it provides a reliable reference point regardless of your equipment’s price range.
What’s the best mixing workflow for limited setups?
An efficient mixing workflow compensates for equipment limitations by focusing on systematic decision-making. Begin by establishing reference tracks that represent your target sound and repeatedly compare your mix against them throughout your process.
Implement regular break periods – working in 45-60 minute sessions helps prevent ear fatigue and maintains objectivity. Use these breaks to listen on different systems or simply rest your ears completely.
Develop a consistent mixing sequence (e.g., drums, bass, harmony instruments, then vocals) to build methodical habits that improve as you refine your approach. This structured workflow often produces better results than random adjustments on expensive gear.
Tools like SoundID Reference further enhance this workflow by ensuring consistency across different listening environments. By calibrating your monitoring setup, you’ll spend less time second-guessing decisions and more time making creative improvements that translate well to any playback system.
Key takeaways for making professional mixes on a budget
Creating professional mixes without expensive hardware requires focusing on fundamentals rather than gear acquisition. Room treatment and proper speaker placement should be your first investment, as they dramatically improve what you hear without requiring premium equipment.
Developing critical listening skills through reference analysis and ear training exercises builds expertise that expensive gear cannot provide. Establish consistent workflows that compensate for equipment limitations while focusing on translation across playback systems.
Software solutions like SoundID Reference represent the best value for improving mixing decisions. For a fraction of hardware costs, these tools provide precision calibration that ensures accurate monitoring and better translation. This approach bridges the gap between budget setups and professional studios, allowing you to make confident mixing decisions regardless of your hardware budget.
Remember that countless hit records are mixed on modest equipment by engineers who understand their tools and environment. Focus on developing these fundamental skills, and you’ll consistently outperform those who rely solely on expensive gear without proper technique.


