The topic at hand requires more than just this article to be complete—there are books, podcasts, and courses devoted to this subject. Nevertheless, this brief article highlights some important tips, and points you toward further techniques that are well worth your time to explore. Here are six tips to get you started.
1. Treat your room and calibrate your speakers
You need to face this simple truth: you are far better off spending money (and effort) on room treatment and monitors than on any other piece of gear. How can you appreciate all the sonic wonders of your beautiful gear if you can’t trust what you’re hearing?
So, you need to understand the basics when it comes to your room. Room dimensions, construction materials, surface finishes, and other physical elements all influence the acoustics. As an experiment, run Sonarworks calibration software on your speakers in an untreated room and check out the corrective room curve suggested by the software. If this curve is anything but (mostly) flat, the curve is telling you just how much influence the room exerts over your monitors.
When setting up a new room it is advisable to consult an acoustician, but their services aren’t inexpensive and the their processes may seem complicated. However, most companies that manufacture room treatment products have acousticians and consultants on staff. These professionals can make basic recommendations to their customers regarding off-the-shelf treatment options. A few of the acoustic companies with consultation services are GIK Acoustics, Prosocoustic, and Auralex Acoustics, and there are many others. Many companies like these offer online analysis tools, and are also happy to review photos or sketches of your room in order to provide expert advice for specific room treatment options.
As for your speakers, there are a couple of good guidelines (note: speaker placement is covered in depth in our blog post by Eli Krantzberg). Start by setting up your speakers about 20% of the room-length away from the front wall, and symmetrically placed between the side walls. Set up your monitoring position in an equilateral triangle, and aim the speakers to focus on a point just behind your head, when you are seated in the sweet spot.
These are good starting points, but you will need to refine the room setup with your ears. Use reference material for this—listen to songs you know inside and out. Key in to specific mix elements that reveal acoustic problems: stereo width and imaging, mix details like vocal reverbs, bass presence and tightness and the tonal balance at various listening levels. If what you hear doesn’t stand up to the test of “does this sound the way I know it should,” then you have been informed of the shortcomings of your current setup. Use mixes that you are very familiar with and also make use of test recordings, like those from audiophile companies or from the Audio Check website. In particular, the MATT test will let you hear with a simple audio test what frequencies cause your room to ring, reverberate and smear the sound.
2. Maintain a calibrated monitor level during mixing and mastering
When you turn up your monitors, a funny thing happens to the lows and highs: they stick out more, feel larger and louder. Turn the dial too low and you get the opposite—these frequency ranges seem harder to hear while the midrange remains present.
So, it’s best to maintain a proper and consistent level while mixing and mastering. You will not make objectively good judgments if you continuously fiddle with the level—especially when comparing the master to the original mix or your mix to reference mix.
Research shows that for typical project rooms, a consistent listening level of around 76 to 79 dB SPL (or as high as 82 dB in a large mix room) presents a properly balanced frequency response. Working at the appropriate volume allows you to make decisions you can trust and ones that will translate to the outside world. Try starting at 79 dB and see if that is comfortable and if you feel comfortable with more or less volume, step it up to 83 or down to 76 dB. The actual level is not as important as being consistent and mixing or mastering at the same level every day. (Be sure to read our blog post “Calibrating a Listening Room for Loudness” by Eli Krantzberg)
Beyond a calibrated monitoring setup, you must also level-match your mix or master with any reference for a true comparison. Level matching helps you to make sure you’re making things sound better, not just louder. When I’m mixing for a client and they want to compare my mix to a commercial release, I simply turn down the commercial reference song by about 8 dB to give the impression of the same loudness. This way we are comparing frequency balances and mix quality and not simply reacting to loudness differences. Check out the Perception plugin from MeterPlugs, which allows you to compare level-matched versions of a raw mix to its processed master.
3. Produce a well-balanced, dynamic, and appropriately loud product
The goal of mastering is to show off a mix in the best light, both by itself, and in the context an album or playlist. This means masters must sound balanced in frequency content as the listener moves from song to song. If the lows are too overwhelming, or the highs are too harsh, listeners will find them challenging to enjoy without fiddling with volume and EQ controls. Refer to our two previous tips, and you’ll be on your way to a well-balanced master, since you can trust what you are hearing in your room.
We also need to take great care in ensuring proper dynamics–both during a master and from song to song. We don’t want to crush dynamic range and kill a song’s impact, while we don’t want so much dynamic range that the soft parts of a song fall below the ambient noise or our listening environment. This is is especially true for listening in cars, outside with earbuds or on built-in phone or laptop speakers.
It’s not uncommon to apply volume automation during mastering to keep the overall dynamic range in check. Say, for example, we have a pop song where the mix jumps up 6 dB from the verse to the chorus. We could simply use volume automation to slightly (and tastefully) bring up the level of the verse to flow more musically into the chorus. Dynamic range considerations may vary from genre to genre, so you must stay attuned to what’s appropriate for the style. Every client seems to wants a loud, banging master, but achieving loudness is not simply a matter of compressing and limiting or maximizing to high heaven. Rather, you must make other musical adjustments to achieve a desired target level. Keep in mind your distribution chain as well. For instance iTunes recommends leaving 1 dB of peak headroom to allow for the slight level increase when creating mp3s from .wav masters. Leaving this headroom gives the mp3 encoder a better chance of producing a less distorted mp3 file.
As an exercise in achieving loudness, apply a limiter or maximizer to achieve the loudness you desire. Is the mix distorting or feeling pushed too much? If so, start adjusting different EQ bands (before the maximizer plugin) to see what frequency ranges cause the mix to overload. Perhaps the sub bass needs to be pulled back or the lead vocal level is impairing your ability to make a loud master. I find that I’m constantly balancing the maximizer against EQ changes as I refine a master that. Each song has a sweet spot where the mix sounds musically balanced and appropriately loud. As always, compare your master to a reference in the same genre to ensure you are creating a musical and competitive master.
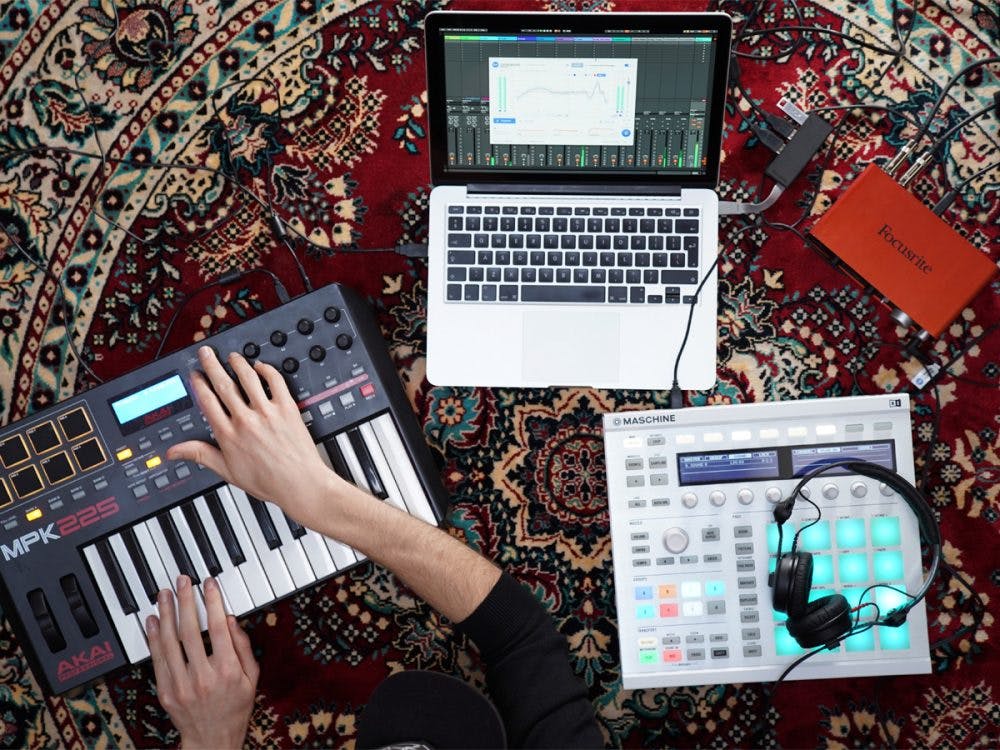
4. Use headphones for technical and creative checks
In professional studios, engineers tend to do the bulk of their creative work on monitor speakers and then check for technical quality issues on headphones. Headphones often highlight technical issues, including distortions caused by clipping or limiting, as well as clicks and pops that are often caused by edits, plugins, automation or clock issues. Sometimes, small noises in an otherwise great mix become much more apparent after the mastering process. After a QC pass, you may choose to repair technical issues with something like iZotope RX or the various dedicated repair and restoration tools provided by mastering DAWs.
Eschewing headphones during the creative part of mastering might not be practical when working in a suboptimal room or when volume is an issue. You might not have the best sounding room or accurate monitors when you’re starting out, so go ahead and make decisions through headphones. Just be aware of the inherent risks of only using headphones, as presented in this article. If you rely on headphones for anything other than quality control, be sure to make extensive use of reference masters. Also, don’t forget to try a Sonarworks headphone profile for your specific headphones, which will produce an accurate and trustworthy frequency response for your specific headphone setup.
5. Decide if you should reference material outside your room
Pros know their rooms and monitors inside and out. If a master plays well in their room, it will sound great on other systems. But, many engineers still provide a boombox or home stereo system for their clients to reference. Clients may be disoriented in the listening environment of a mastering room, so a boombox or Bluetooth system may be welcome reference point.
Mastering engineers who have tens or hundreds of thousands of dollars to make it happen can invest in proper construction, acoustical treatment, power conditioning, and high end wiring. Every little bit matters and the smallest elements all contribute to the final sound. That said, many engineers don’t have access to those kinds of funds, so they must make use of all the tools at their disposal, including multiple reference monitor systems.
Listen on your iPhone. Listen on your car stereo. Listen on your boombox. Then go back and do it again. Don’t just bring your master to these playback systems—bring along the original mixes and other reference material as well. Level match as best you can (the volume knob is your friend), and make quick, broad decisions as to whether your master stacks up against the competition. On a car stereo system, I don’t mind if the vocal feels a bit too loud or soft, but does the low end hold together? On a phone speaker you won’t hear the bass or kick drum accurately, but can you hear the lead vocal and important elements of the track? I find that when listening outside of my studio, I listen for the main musical elements and the meaning and emotion of the song. I don’t worry too much about the small mix details like subtle effects or pannings.
6. A question: Should I master while I mix?
The consensus seems to be no, you shouldn’t. These are two (too) different processes. Different mindsets and different goals. Some engineers, however, do master while they mix, and can do it successfully. These people usually have a lot of experience, a great deal of confidence, and the ability to quickly change mindsets. The master-while-you-mix process may finish up with a great mix that is also a competitively loud master, but that is still only part of the story.
I’d recommend you leave mixing and mastering as two separate processes. Mixing addresses the arrangement, production and emotional needs of the song, while mastering prepares a great mix to fit in with the world that it belongs to. You mix a song to convey its meaning, emotionality, intelligibility, story, and other unique facets. You master to compete and fit in context among songs of a musical genre or on a specific album and also to sound well-balanced in different of monitoring environments. Don’t forget that mastering also includes album sequencing, technical quality control, proper encoding of metadata, as well as proper encoding for distribution or manufacturing.
To combine mixing and mastering into one step is dangerous. You ought to think nothing of metadata while mixing just as you ought not think of sidechain-compression on the bass while mastering. The mastering mindset is one of improving an already established product and preparing it for distribution, whereas mixing is like creating a single planet out of a universe out of chaotic, disparate elements.
Clients do expect your mix to sound “like a master,” so you may find yourself applying some mastering processing to your mix in order to achieve a competitive level and some added polish to your mix. Keep in mind that a little goes a long way and your perspective will change once you’ve been away from the mix for a day or two.
Conclusion
Creating mixes that translate on all systems takes time and practice. However, it’s a lot of fun! I recommend practicing the process every day. Take one mix each day that you have on your drive—it doesn’t matter which—and try to make it sound like a mastered product that works on all reference systems, using the tips we’ve discussed. Try to keep the process fast; don’t spend more than half an hour mastering a song during this practice routine. Keep track of the elements of your masters that consistently surprise you, like too much bass or certain frequencies that feel too loud or too soft. Take this knowledge back to your mastering setup and try to figure out if you are not hearing those same problems in your room and, if that’s the case, why can’t you hear those problems. At the end of a few weeks, you’ll be surprised at how much better your masters have improved!
The Simple Truth
Let’s end this with the secret of making mixes that translate. If your room and monitor system is properly tuned and sufficiently accurate and you work at a proper and consistent listening level and you occasionally check your work outside of your room, masters that sound great in your room will automatically sound great everywhere.


