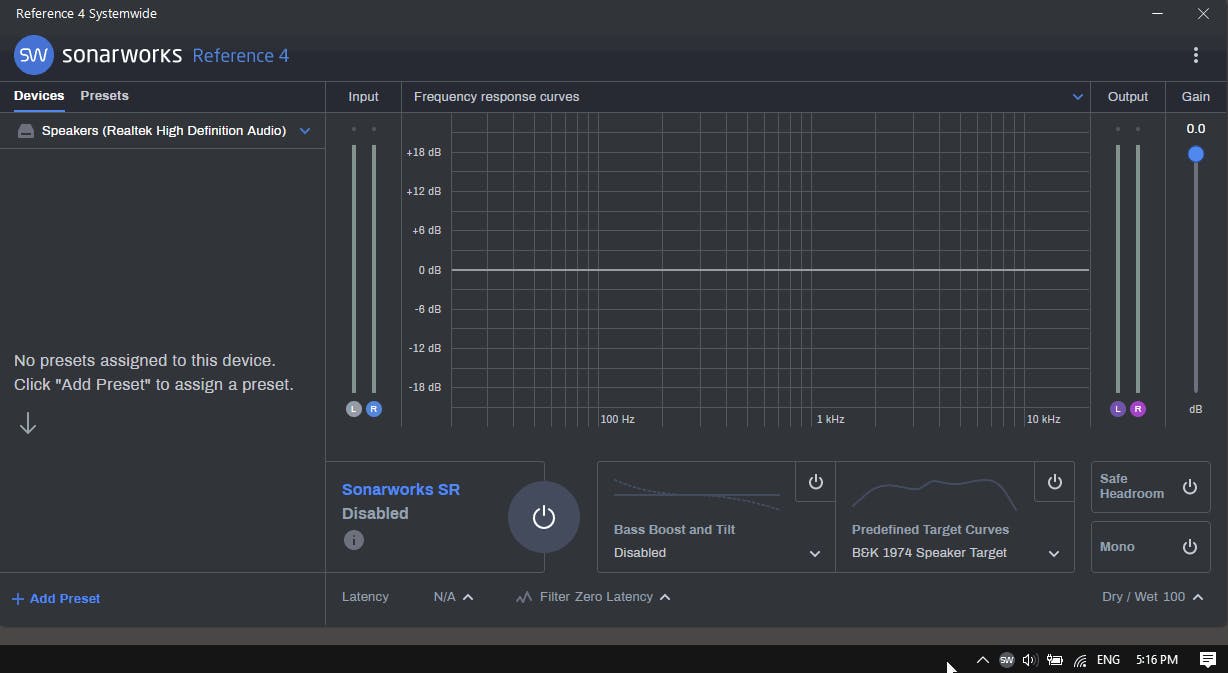
Reference Systemwide is intended to allow users to experience calibrated sound regardless of the app that’s playing audio. In the previous versions of Systemwide, this functionality revolved around using a single headphone or speaker calibration profile, with Systemwide’s output mapped to a single stereo output on the user’s output device. The same calibration profile would be applied even if the user changed Systemwide’s output device settings and changing the calibration profile had no effect on audio routing.
But what if your headphones don’t share the same output channels on your interface as your speakers? What if you switch to your laptop’s built-in speakers and still have the calibration profile of your studio speakers applied? What if you’d like to, once in a while, switch between a ‘hyped bass’ sound of your calibrated headphones to simulate the sound of some popular headphones? In previous versions of Systemwide, solutions to these questions were possible but sometimes demanded too much effort on the users’ part.
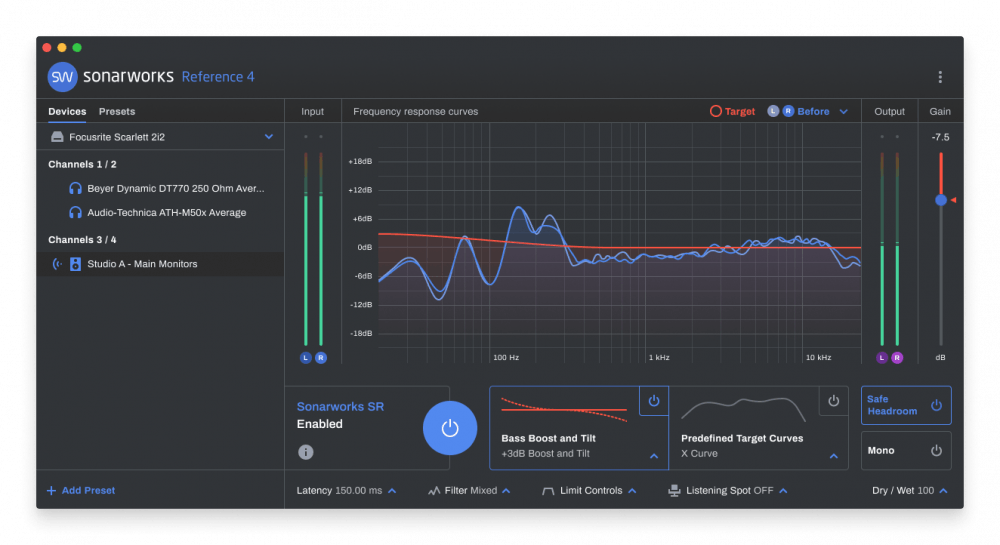
Enter Reference 4.4 and the new Calibration Preset Sidebar. In this article, I’ll go through three scenarios we’ve addressed and show how to set up Reference 4.4 for each case!
Table of contents
- You use several pairs of headphones or speakers and they don’t share the same output channels on your audio interface
- You want to switch to an output device that doesn’t require calibration and have Systemwide always remember that no calibration needs to be applied to this device
- You want to easily switch between two different DSP configurations of your calibration profile
Case 1: You use several pairs of headphones or speakers and they don’t share the same output channels on your audio interface.
This is the main problem we wanted to solve with Reference 4.4. Let’s assume you have a pair of Audio-Technica ATH-M50x headphones and also a measurement profile for your ADAM speakers. Your speakers are connected to outputs 1 / 2 while your headphones are connected to outputs 3 / 4 on your audio interface. To set everything up, go through the following steps:
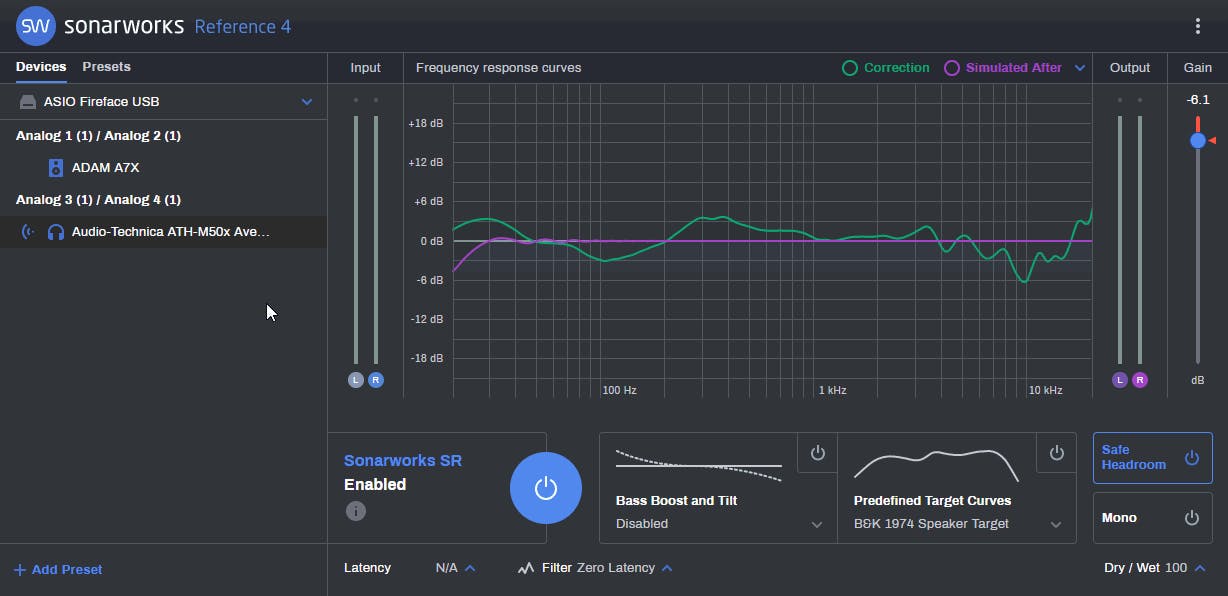
- Create a preset for your speakers and map it to outputs 1 / 2.

2. Create a preset for your headphones and map it to output 3 / 4.
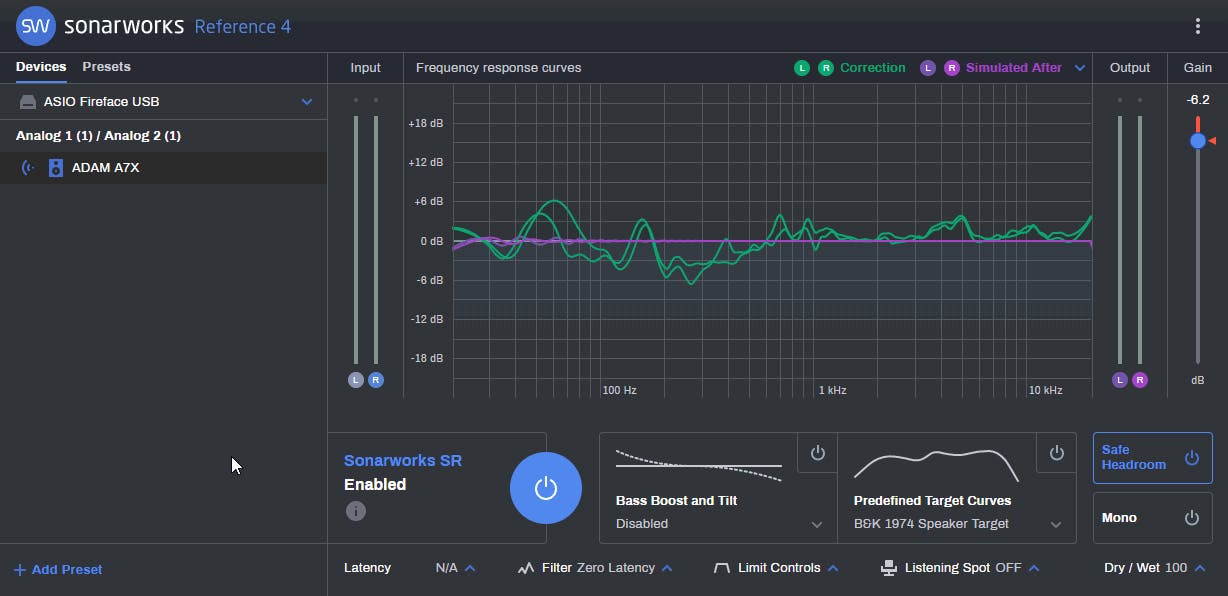
3. Easily switch between them in the preset sidebar. The audio will be re-routed to the correct output pair immediately!
4. Easily switch between them in the menubar/tray menu on macOS and Windows respectively.

If your speakers and headphones share the same output pair on your audio interface then just map both presets to the same output pair and preset changes will be the same but will not change Systemwide’s audio routing set-up.
Case 2: You want to switch to an output device that doesn’t require calibration and have Systemwide remember that no calibration needs to be applied to this device.
Let’s assume you’re working on some music on your laptop and decide to switch the audio output to your built-in laptop speakers just to check how well your music would translate. You switch the output but still have the studio monitor calibration active in Systemwide! Provided that Systemwide is still in your audio chain, this is most certainly not what you want. Having to disable calibration every time this happens is tedious, but luckily the new preset sidebar offers a solution.
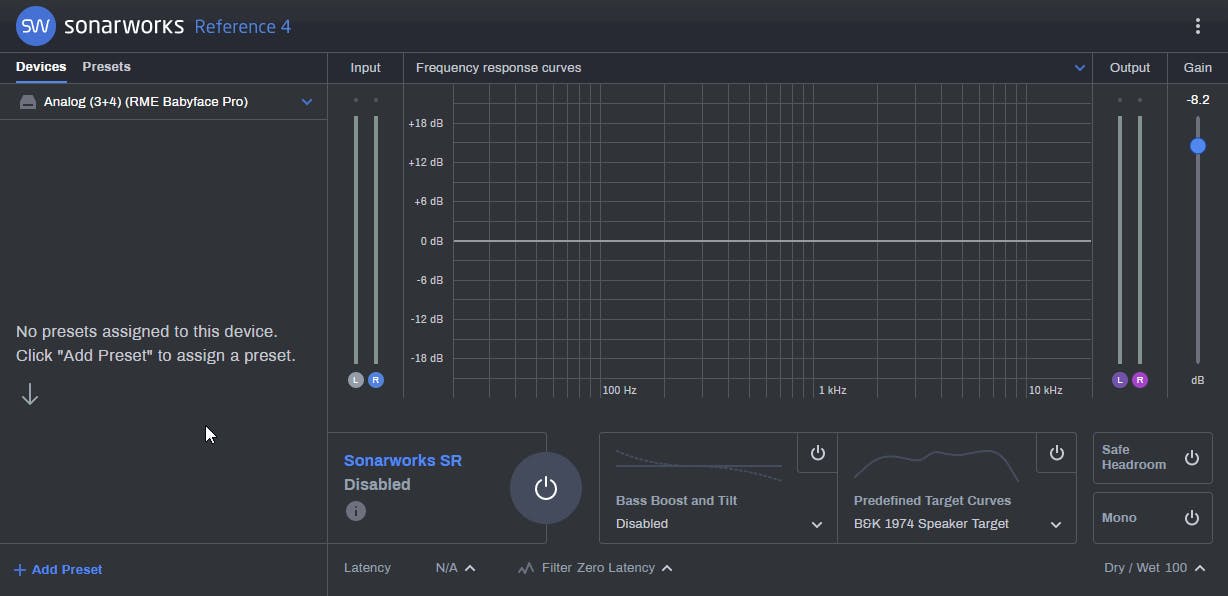
- Create a preset for your studio monitors and map it to the appropriate outputs on your audio interface.
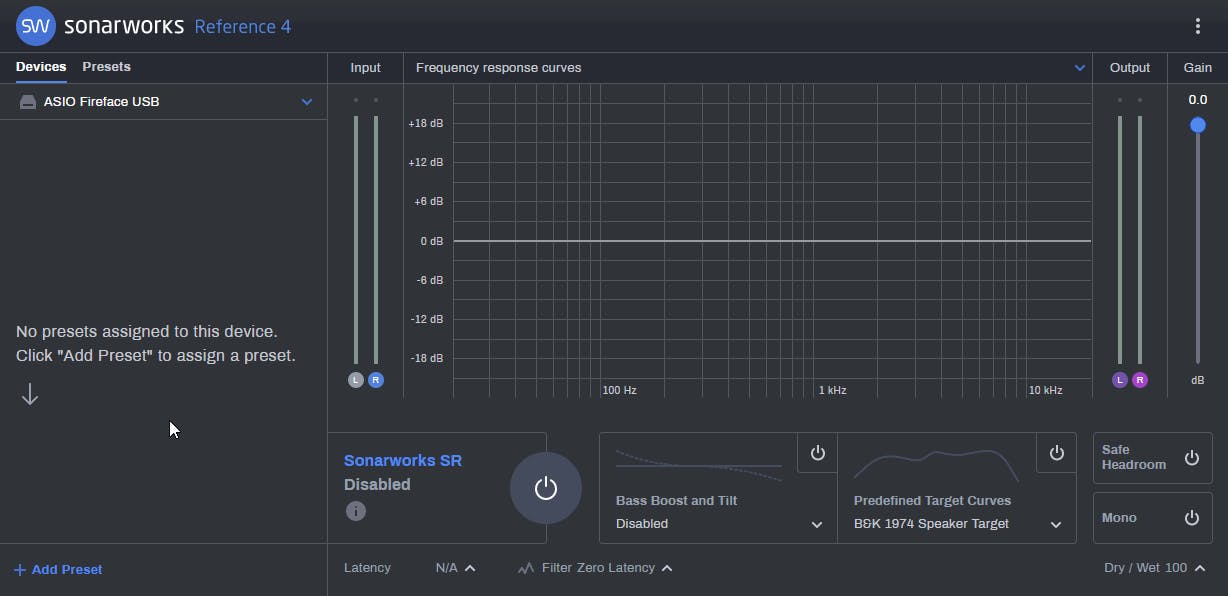
2. Switch to your laptop’s built-in speakers using the system audio output menu. Systemwide automatically sets itself as the output device and removes applied calibration preset!
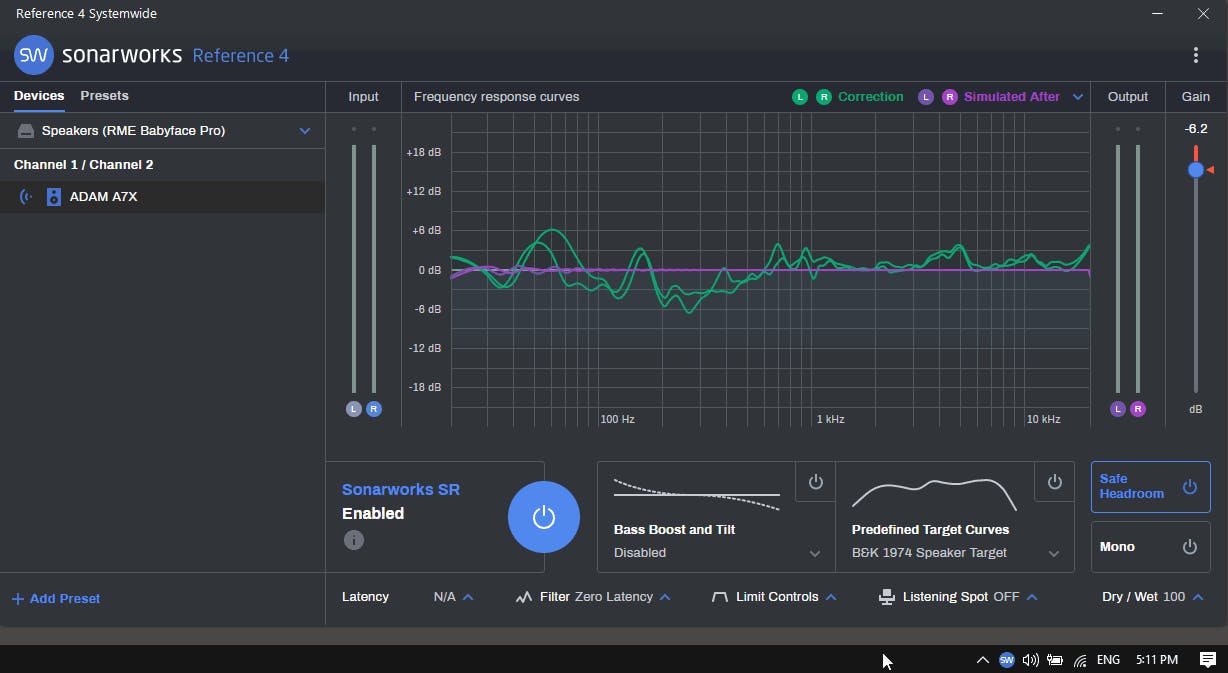
3. Switch back to your audio interface. Everything is how you left it!
There are other less common cases where this behavior is useful, like when using your computer with external output devices that can’t at present be calibrated by Reference, for example, TVs or car systems.
Case 3: You want to easily switch between two different DSP configurations of your calibration profile.
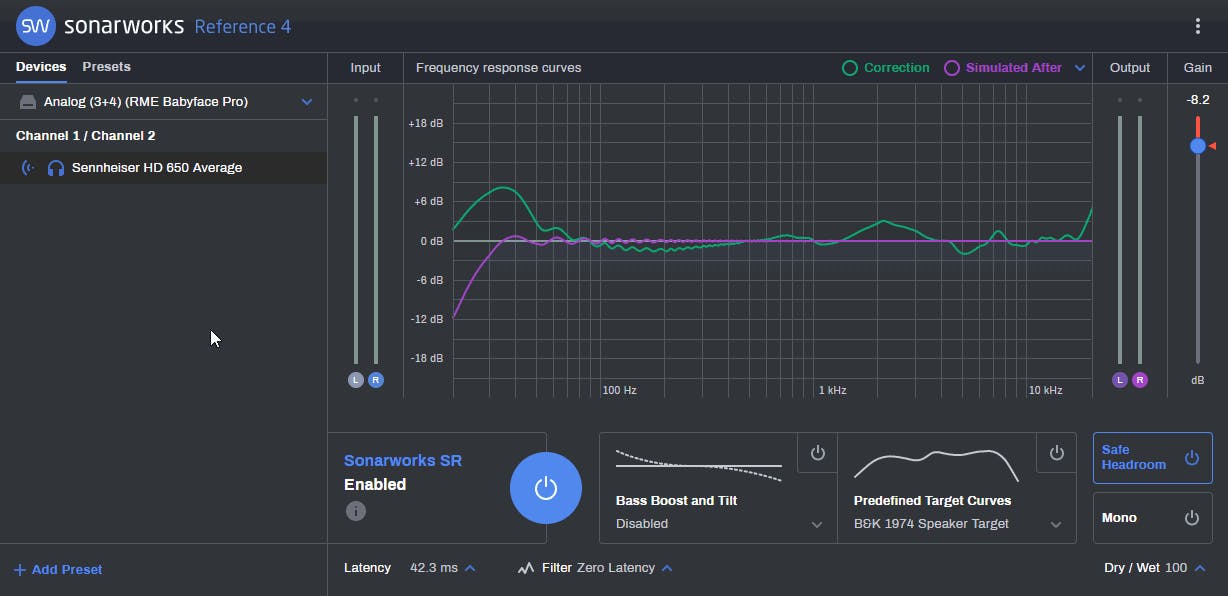
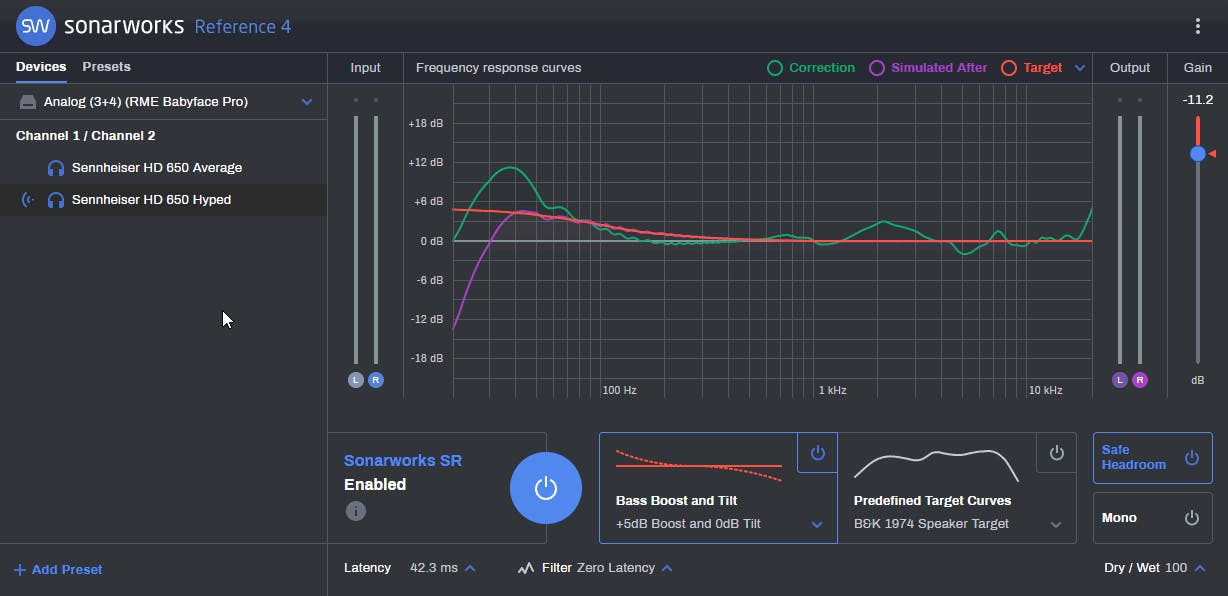
Let’s assume you have a pair of Sennheiser HD 650 headphones. You’d like to be able to easily switch between their flat preset and a ‘hyped’ version of their preset to emulate the sound of the average bass-heavy consumer market headphones for translation checking purposes.
- Create a preset for your headphones.
2. Copy this preset to a new one, keep the output device mapping the same.
3. Apply 5dB bass boost to add some hype.
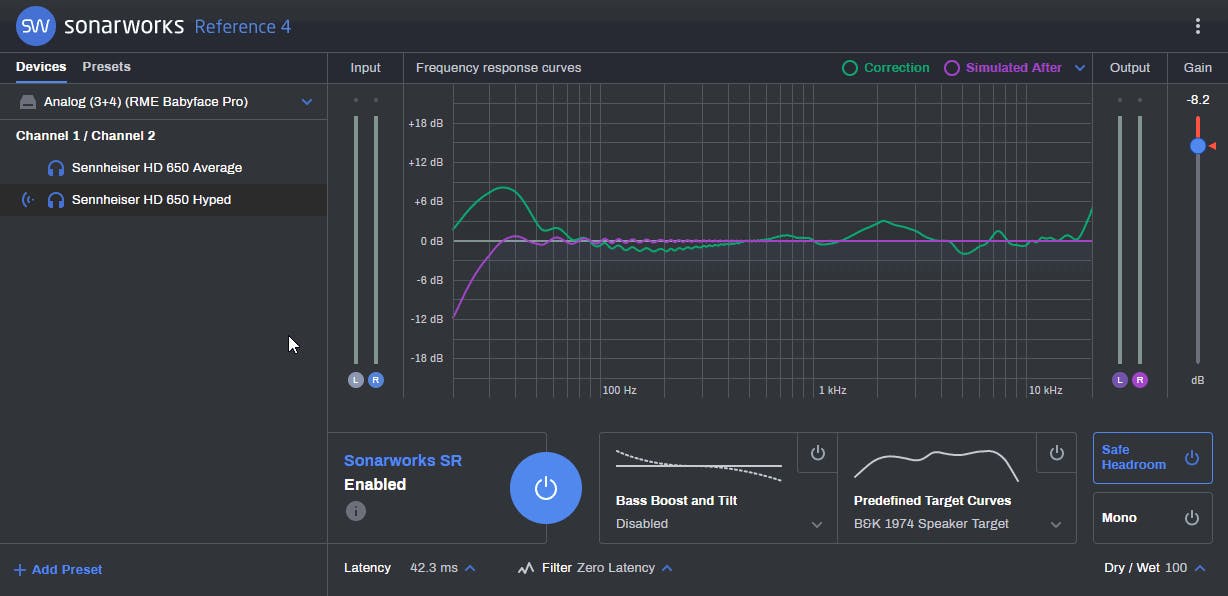
4. Easily switch between the neutral and hyped sound using the sidebar.
Hopefully, this has been a useful overview of the main functionality offered by the new calibration preset sidebar in Reference 4.4. If you have any questions or feedback about it, please leave it in the comments section below!