Problems with the less than stellar sound of your small listening space are not because you haven’t spent enough money on top-notch gear or expensive monitors. To a large extent, the room’s acoustics and setup affect the sound of the room much more significantly than a particular monitor choice. Scientific measurements of an acoustic space do not differ significantly between using a pair of modest speakers versus the same space with multi-thousand monitors. The concepts and suggestions offered in this article are applicable to recording studios, home theaters or any room intended for high quality sound reproduction.
In other articles on this blog we discuss the basics of properly setting up your studio monitors and listening position and also how to kill confusing room reflections. However, I am often asked about the most simple and beneficial things can be done to improve their studio’s sound, so I have come up with four key steps that will generally improve most home studio setups. These are not expensive fixes, but they will effectively improve the accuracy and mix translation of your room.
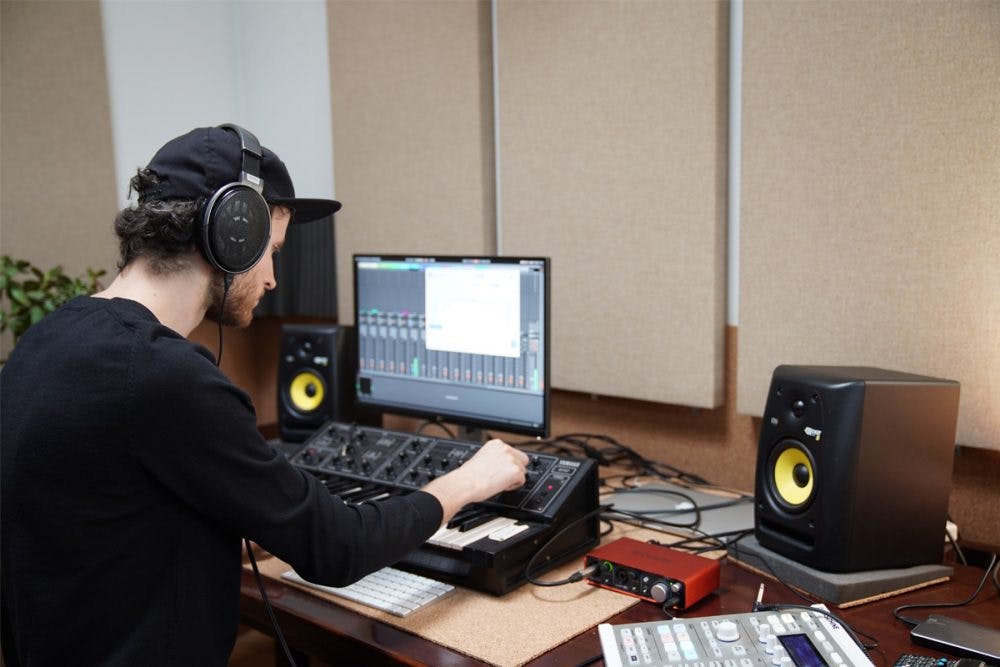
You can easily test and verify these improvements by ear—no test equipment is required. I do use Sonarworks Reference 4 room measurements to keep track of the effects of each step of acoustic treatment. You can see by the response curve from each Sonarworks measurement if you are effectively solving frequency problems.
Here are the four key steps I have found to improve a typical home studio space:
I. Proper Bass Absorption
II. Dealing with The Ceiling
III. Choosing Appropriate Monitors
IV. Refining Your Speaker Positioning
I. Bass Absorption
In bedroom studios and converted garage studios, bass trapping is vital. Low frequencies in small rooms are problematic, and effective bass trapping is the first acoustic treatment you should consider. In fact, a significant amount of the acoustic treatment budget should be set aside for bass trap purchases. Getting the bass sounding right in your room will have a powerful impact on the subjective performance and feeling of the room itself. Don’t worry about installing too many bass traps, you should be more cautious about over absorbing middle and high frequencies.
Placing Bass Traps Effectively
The length, width, and ceiling height dimensions in small rooms are so short that the room cannot physically contain the long wavelengths of low frequencies without those long waves bouncing between the walls, floor and ceiling. The full wavelength of a 100Hz sound wave is 3.4 meters (11.2 feet) long, so a room with any dimension less than 3.4 meters will have problems containing and properly reproducing music with frequencies of 100Hz or lower. We need to somehow stop the bass waves from reflecting off of the walls and ceiling back and forth in the room.
Enter the bass trap. Bass traps absorb low frequency pressure to lessen the amount of bass energy reflecting in the room. Bass traps should be placed where maximum pressure builds up—the walls, floors, and ceilings—and especially in corners where two walls and the floor or ceiling meet. The best locations to place bass traps would be from floor to ceiling in the front left and right corners, behind the monitors and wall-ceiling tri-corners.
Velocity Absorber
Typical 2-inch thick fiberglass, foam or porous absorption panels that hang on your studio walls don’t work effectively to absorb bass. Called velocity absorbers because they slow the speed of sound, it would take absorption panels 1.4-meters (4.5-feet) thick to absorb 60-Hz and then they would also absorb all the frequencies above that too! Clearly velocity absorbers are not practical for absorbing low frequencies—there are better technologies for absorbing low frequency energy.
Pressure Absorber
Pressure based traps use pliable membranes that bend and flex with the pressure of the incoming bass waves and are excellent at absorbing low frequencies. Additionally, these traps do not affect the mid-range and high frequencies. By using bass traps for the low frequencies and velocity or porous panels for the mid-range and high frequencies, it is possible to “sculpt” the acoustics of your room very precisely.
Other Locations for Bass Traps
If you need more bass trapping than your corners provide, bass traps can be part of the ceiling cloud directly above the listening position. This is a good strategy because hanging bass traps a few inches from the ceiling does not take away from your room’s floor and wall space. Also, having absorption on the ceiling gives you the option of a wood floor under the listening position (instead of carpeting), so chairs and gear can roll around easily. It is my preference—personally, I like the liveliness of the slight reflections off the floor and it looks great, too!
Another location for bass traps is the left and right side walls on either side of the listening position. As part of your Reflection Free Zone absorption treatment, thick velocity absorber panels (at least 20-cm or 8-inches thick) or thinner (5 to 10-cm or 2 to 4-inch thick) panels spaced away from the wall will absorb some upper bass frequencies as well as reduce reflections in the mid-range and high frequencies.
Be Smart And Measure
Use Sonarworks Reference 4 to measure and create a graph of your room’s response and then retest after you apply each set of bass traps. You can easily track your changes this way and actually see the effectiveness of each treatment. Making more than one acoustic treatment change at a time is not recommended because it will be hard to track which treatment made the most improvement.
II. The Eight-Foot Elephant In The Room—The Ceiling
There is nothing wrong with an eight-foot (2.4-meter) ceiling—it is the standard height in residential rooms in homes, apartments and condominiums. The fundamental frequency supported by the 8-foot floor-to-ceiling distance is about 71Hz. When seated, your head will be almost exactly halfway between the floor and ceiling and you will experience an intense dip and hear little or nothing at 71Hz—right in the kick drum region! In addition, you will have a big boost of 141Hz at the listening position, a frequency that you’ll (erroneously) want to reduce in your mixes with an EQ.
If your ceiling is higher than 8 feet, your bass problems will simply be at lower frequencies. Thick, broadband bass traps as part of your cloud system will lessen the severity of both those problems considerably. Ideally, the cloud should span from a few feet behind the listening position to a few feet in front of the listening position and the cloud will act as a bass trap and also kill some first reflections and flutter echoes.
III. Use Full-Range Monitors
Full-range monitors, like 2-way speakers with at least 8-inch woofers, or 3-way monitors with a tweeter, midrange driver and a woofer, may alleviate the need for adding a subwoofer. Acousticians will tell you that adding a subwoofer to a small room requires careful setup. Finding the best placement and properly tuning the sub to work with your monitors takes time and patience. If you feel you need a subwoofer, make sure you spend the time to calibrate and match the sub to your monitors and room.
Surround and ATMOS setups require at least one dedicated subwoofer for their LFE channel(s). These subs are not used for music playback and are in addition to your main monitors, which may also incorporate their own subwoofers.
If you do decide to go with a sub, check out one of many articles on subwoofer placement and theory: https://www.audioholics.com/room-acoustics/optimum-locations-for-subwoofers-in-rectangular-rooms
IV. Refine Your Monitor Speaker Positioning
Refining your listening position goes hand in hand with properly positioning your monitors. Your speakers should be on stands so that you can freely move them around both laterally (left and right) and adjust them vertically (up and down). Placing your monitors right on your desktop provides limited options for adjusting speaker locations—even if you use those foam platforms. Ideally, you’ll want to set speaker height so the tweeter sits at ear height, or at least tilt the speaker so that the tweeter points directly at your listening position.
Place your listening position at the optimum location—the center of the width dimension or the room and about 38% of the distance measured from the front wall to the back wall. Set up your monitors using the Magic Triangle method and aim or “toe in” the left and right monitors to a point slightly behind your listening position. It is recommended to keep your monitors oriented with the tweeter above the woofer; however follow your speaker manufacturer’s suggestions for the appropriate orientation and setup.
See also: Successful Studio Setup eBook
These four tips can be used to improve the sound of almost every studio, so give them a try and hear the results for yourself. Don’t forget to calibrate your room with Sonarworks Reference 4 after you finish treating your room to squeeze the last bit of accuracy out of your great sounding room!


