
With the shift to home studios, the lines between the traditionally separate realms of tracking, editing and mixing have merged into one big state of creative activity. We pretty much all need to know how to do all of these things. And as a result of these merged activities, it’s common practice to “mix as you go”. With modern music, getting the sound right while creating is essential to the creative workflow. This often means slapping on effects and processing tracks and sounds as you are creating. But it is important to differentiate between sound design and mixing. The first deals with the sculpting and creation of individual elements, instruments, parts, or sounds, within a greater whole. The latter deals with blending all these elements together. It is often counterproductive and too easy a distraction to get caught up in the mixing minutiae, while still in the process of creating the content.
I suggest that it is useful, towards the latter stages of the fluid creative process, to commit to your arrangement, and focus solely on the mixing stage. The “mix as you go” mindset is useful when tracking or editing, in order to have a sense of the overall song. But it can also paint you into a corner when you are finished creating, and it comes time to do the “real mix”.
Here are seven tips to get your mixes started off on the right track after you’ve got your song written, recorded, and edited.
Commitment
Render all your software instrument tracks to audio. This is useful for several reasons. It will “burn in” any effects processing you have in place that is a necessary component of the actual sound. I’m not talking about EQ and compression. I mean things liked synced LFOs, modulation, filtering, amp processing, etc.
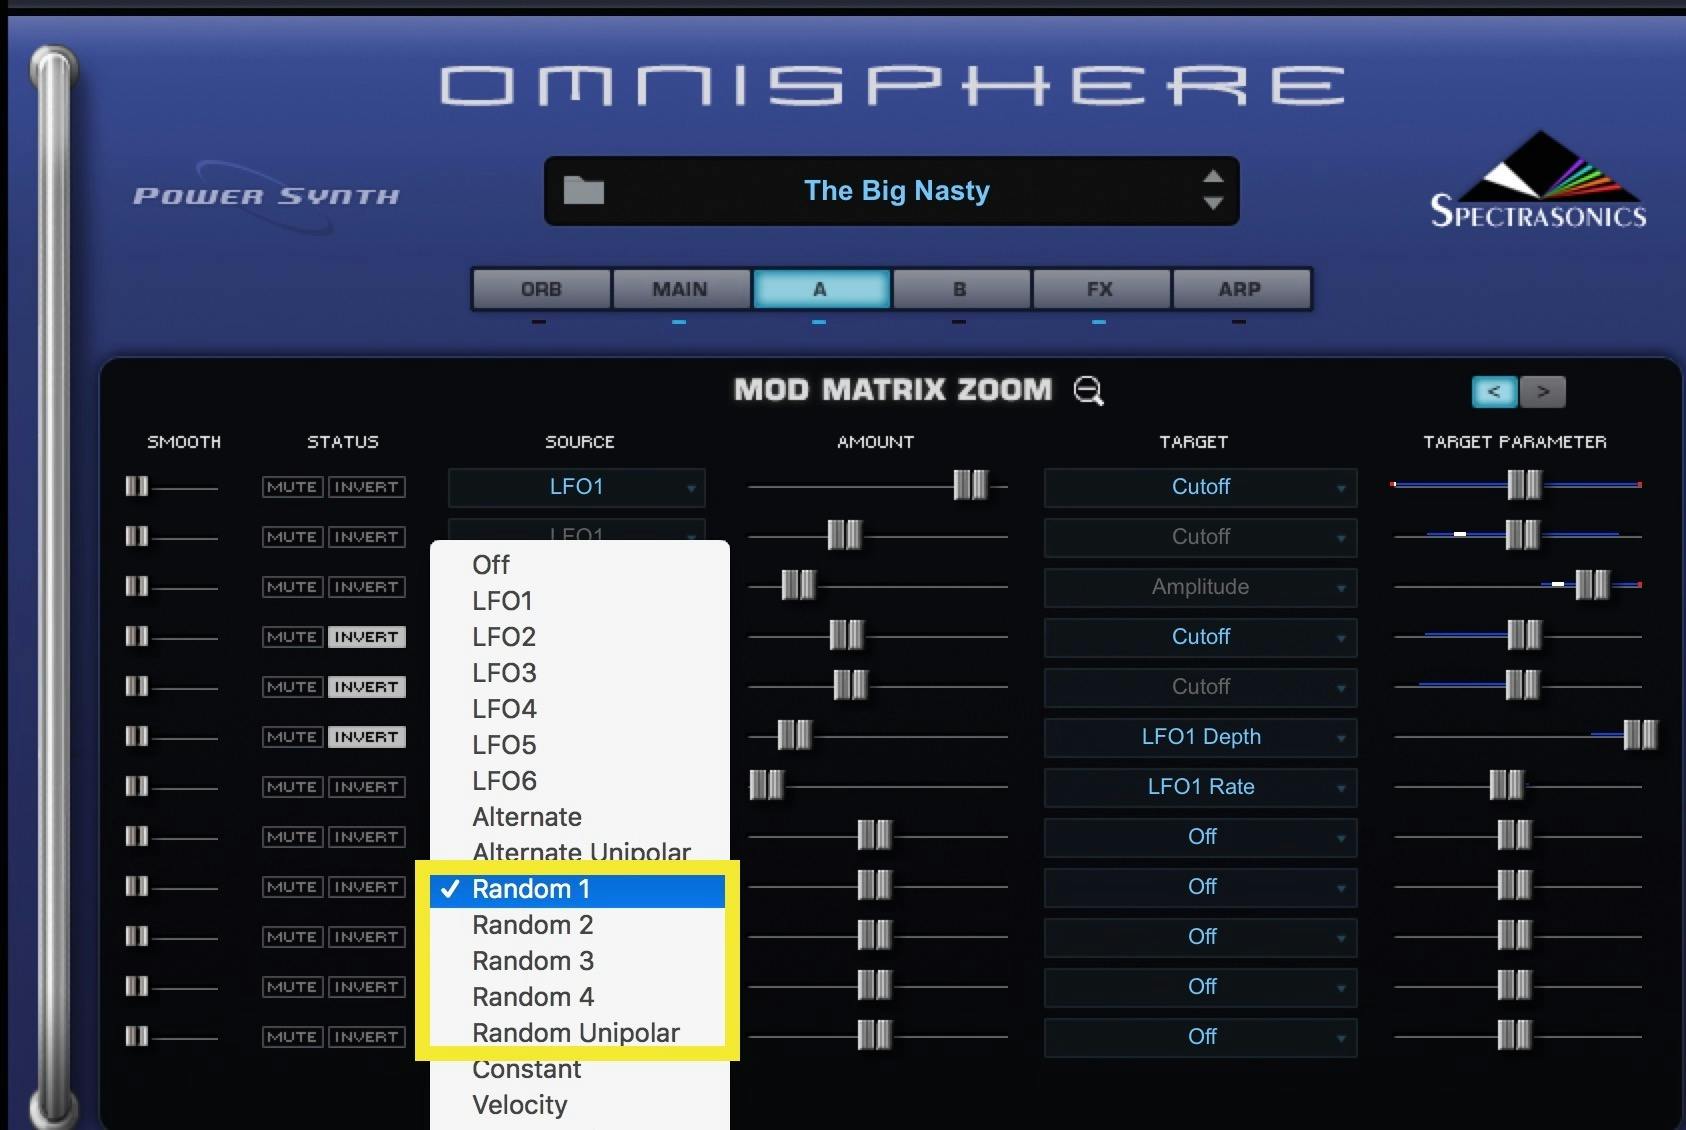
Many software instruments include random modulation sources. Rendering the instruments to audio will also ensure any random elements will be locked in, and be the same on each playback.
Rendering instruments to audio is also a great way of future-proofing your mixes should you need to recall them later. Plug-in formats change over time, OS specifications change, compatibility with newer OS versions may not work consistently, the instrument may be discontinued by the developer over time, it may be replaced with a newer version that does not load older versions properly, you may change to a different DAW down the road that may not be compatible with this software instrument, you may need to work in another studio that does not own it. Or you may choose to discontinue upgrading it down the road, having replaced it with something else. The list of possible problems is endless.
Probably the most useful reason though for rendering your instrument tracks to audio is psychological. It forces you to commit to them. Of course, keep the MIDI tracks around in case you should need to make changes. But rendering instrument helps shift your mindset from creating to mixing.
Organize
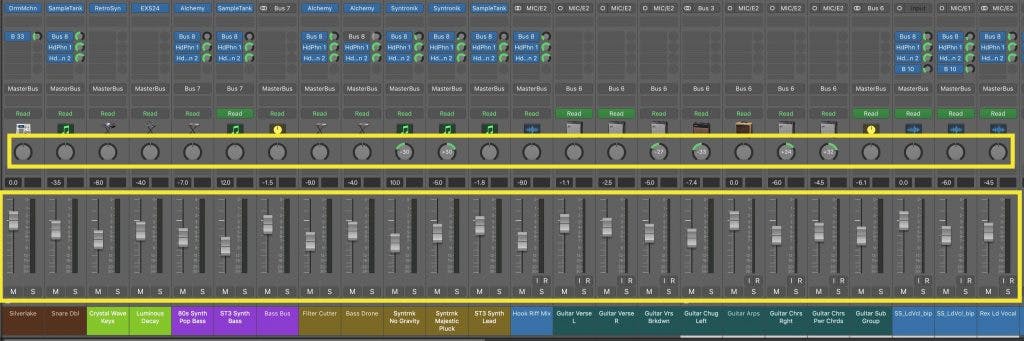
In the creative process, we are concerned primarily with getting our ideas down while they are still fresh. As a result, it is not unusual to end up with a sloppy looking session, with various tracks scattered all over the place. Hide or delete unused tracks, and organize the remaining ones so that like instruments are grouped together.
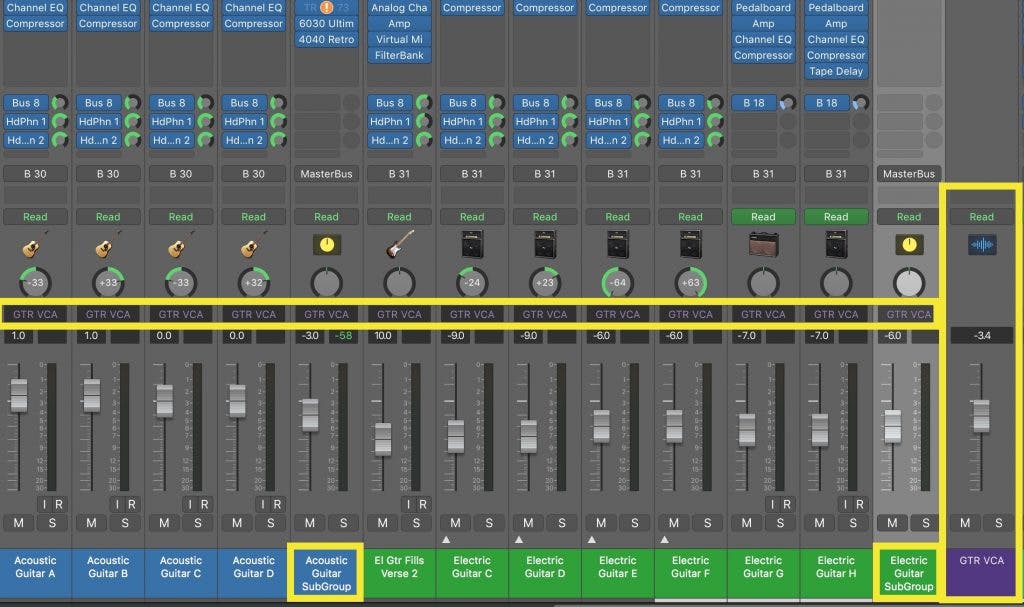
Place all your guitar tracks together, all drum and percussion tracks together, all vocal tracks together, all synth tracks together, etc. This not only serves the useful process of shifting your mindset to mixing, it is also useful for subgrouping. I’ll often color code and subgroup each set of tracks so that they are easy to see at a glance and controlled or processed from one channel strip. Of course, this doesn’t preclude processing individual tracks, but it is useful to have this additional stage of control. You may, for example, have all your vocals processed and set and then realize later in the mix that you want to brighten up 10k slightly across all of them. A subgroup is a perfect place to make this kind of adjustment.
And while you are setting up subgroups, set up VCA tracks at this stage as well. You may not use them, but they are there if you need them. Think of a VCA track as kind of like a master for several subgroups. For example, I often subgroup my verse, chorus and bridge guitar tracks separately. Setting up a master guitar VCA is then a great way to bring all the guitars up or down together while maintaining all the individual subgroup processing, levels, sends, and automation.
Parallel Processing
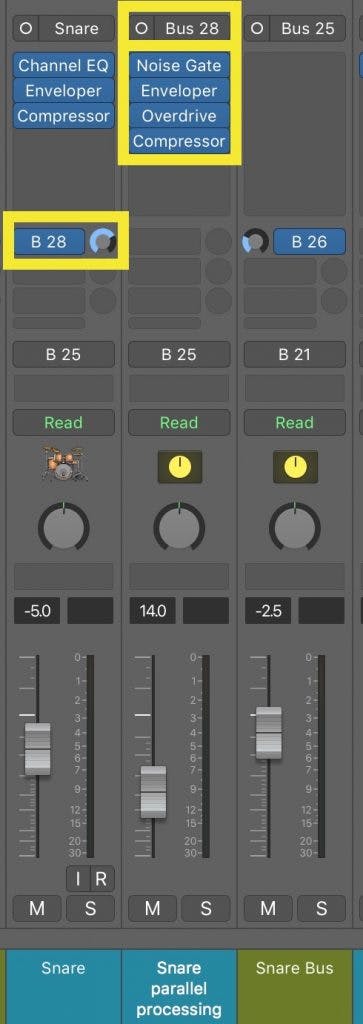
The basic idea of parallel processing is to send a track’s signal (either via the output or a send) to another channel strip that can be processed independently of the original. The two tracks are then blended together to achieve the desired balance between the affected and unaffected tracks. Many modern plug-ins contain built-in mix knobs to do this internally. Setting up parallel processing manually though allows the parallel signal to be processed with a chain of effects rather than just one. For example, when routing a snare drum for parallel processing, you might want to experiment with a combination of compression, EQ, saturation, distortion, or other effects. It is a good idea to set up parallel processing tracks where you may need them in advance, so they are there and ready to go when you are in the middle of mixing and suddenly find yourself feeling creative.
Master Bus
Set the output routing of your tracks and busses to a master bus before the signal hits the stereo output. This has several advantages. If your mix is either too hot or too soft, you have one final level of overall gain staging before the signal reaches the final output. This is also a useful stage to automate either global effects or the volume of the entire mix. Having the entire mix diverted to a final bus also opens up the option of parallel processing the entire mix. If you are processing your stereo output with mastering plug-ins, this master bus is useful for metering the unprocessed level of the entire mix and checking mono compatibility.

Head & Tails Edits
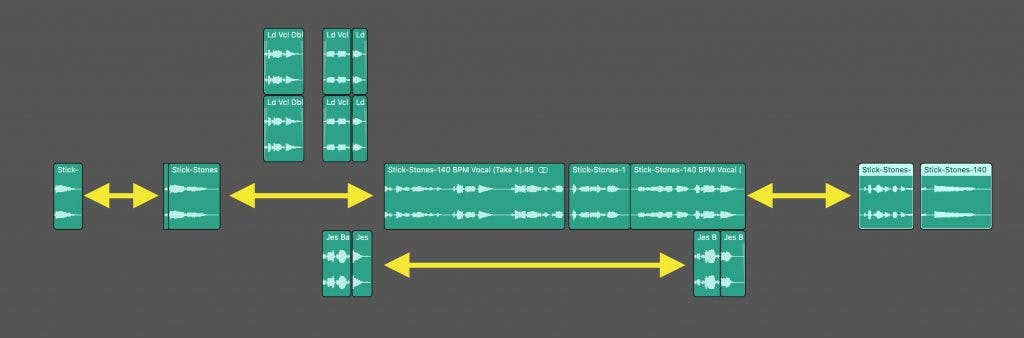
Edit all your region boundaries to get rid of dead space. And place short fade in/outs where necessary. It is incredible how much getting rid of headphone bleed and guitar noise can clean up a mix. Often I’ll be tracking a singer or guitarist, where they may only play or sing on certain sections. We usually just leave the DAW rolling so they can monitor the entire song and come in where necessary. There is often room noise, breaths, the rustling of clothing, amp hum, etc. in these dead spots where they are not performing. If entire regions are still in your session, now is the time to go in and edit them. I find this particularly important when stacking back up vocal tracks. Often the breath leading into the first word or the breathing between phrases is inconsistent between the different takes. Get rid of them, they are not needed. This not only cleans up, but also tightens up the entries.
Faders Up
Before starting with effects processing, remember the Arrangement comes first. Get all the faders up at a level where things blend more or less. Get the rough panning in place. Listen, and see if any parts conflict or overlap in an unnecessary way. This is actually a critical stage of pre-mixing. In the heat of creative output, it’s great to get all the ideas you have down. But just like writing, it’s necessary to go back after and remove the parts that don’t work. This is one last step of final sober second thought. With all the faders and pans set so that the tracks are more or less blending the way you want them to in the mix, you should get an overall sense of the song. Are there maybe too many low range guitar parts conflicting or making things sound muddy? Do the hi hat and tambourine get in each other’s way? Fix it with the arrangement before you reach for your first EQ.
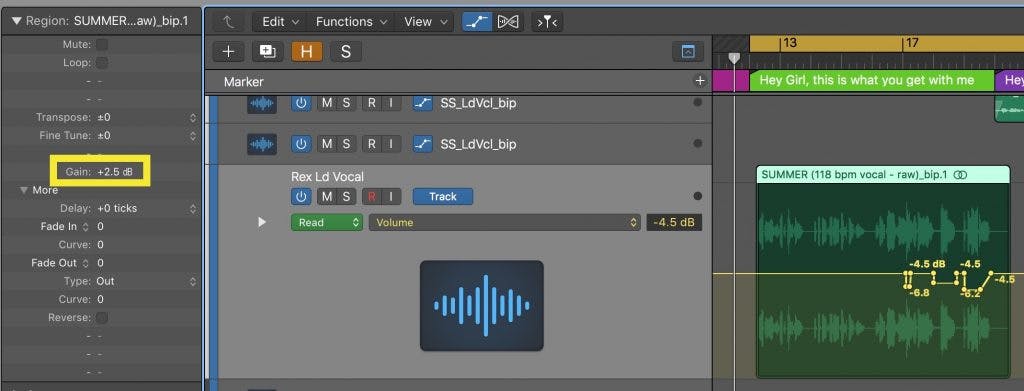
Clip/Region Gain
We all know how important volume automation is to smooth out levels of live performances. Compressors of course also play a critical role in the dynamics of each track. However, most people overlook what most DAWs refer to as either clip gain or region gain. This is the ability to apply static volume offsets to individual regions, separate from volume automation. This is a fantastic way to get the most out of your compressor plug-ins. By painting the broad volume strokes and evening out major jumps between phrases, you can more easily set a track’s compressor to always be working in the sweet spot of its range. So don’t overlook clip/region gain as an important way of controlling the level of the signal hitting your compressors.
With all of your instruments committed to audio, everything subgrouped and routed the way you want, the song properly organized and edited, the faders & pan pots in rough position, and some region gain applied to even out volume offsets between phrases or sections, your mix will be halfway there. The hard part is done. Now the fun part begins; creatively zeroing in, experimenting, and sculpting your mix to get it sounding exactly how you want it.


