As a composer or producer, creating your own sample libraries provides a unique opportunity to develop your sonic personality. Sample libraries can capture sounds around you or from within your projects to organize them for easy recall and manipulate or transform those sounds into something completely different. Sampling is an art form on par with mixing and mastering and as such requires considerable experience through trial and error. Creating your own custom library may seem daunting, or even not worth the effort, considering the overwhelming amount of “off the shelf” library plugins available on the market. Here are 4 tips to help you begin quickly and easily developing these sample libraries:
1. Where to Start? Creating the raw material
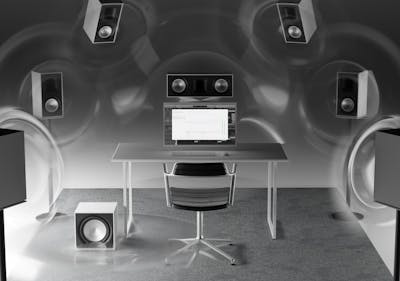
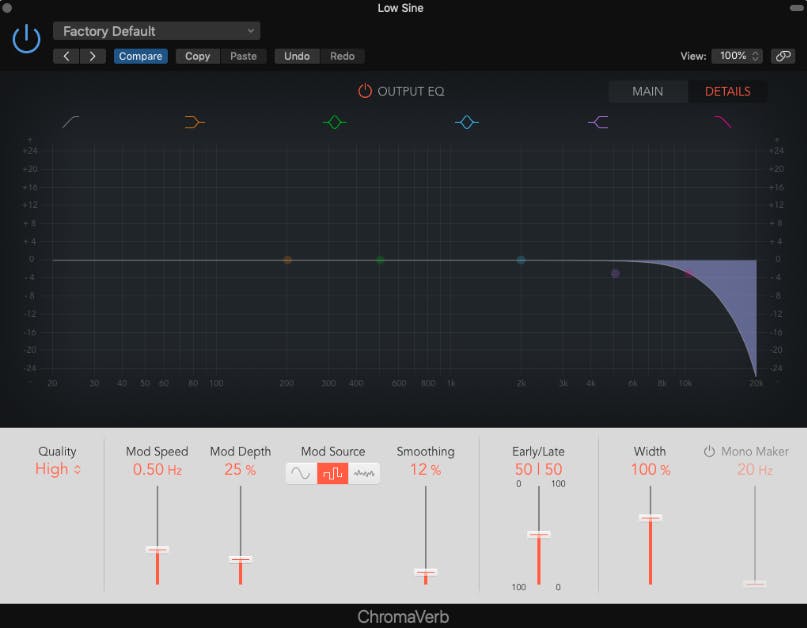
To build a library, you need sounds, but how do you generate the sounds? If you are starting from scratch, one of the most creative ways to approach sound design is to start from a relatively simple idea and expand with the help of effects. One example of this could be running basic waveforms (sine, triangle, square, pulse) through your favorite delay or reverb unit. Many of the time-based effect plugins in your DAW feature various modulation parameters (see Chroma plugins below). Go nuts and tweak as many parameters as you can while recording, or use automation to record parameter changes. This method is particularly useful for creating pads, drones, and evolving textures.
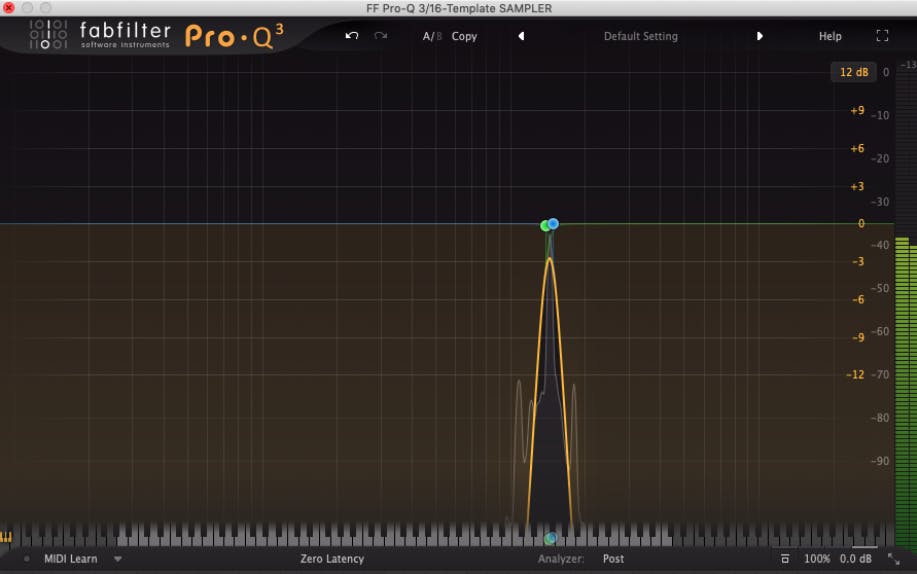
If you don’t want to start with computer-based sounds, it’s possible to create interesting tonal types of sounds by processing organic sounds. For example, you can record your voice through your favorite studio microphone or even your laptop’s microphone. Listen to the recorded material and try to single out its most resonant frequency using a sharp band-pass filter (see image below). Next, drop that filtered audio into a sampler and there you have it! You have made a fully playable polyphonic instrument out of a single resonance!
These are just a couple for examples, however, there are virtually no limits to the way you can generate, manipulate, and morph audio signals to create interesting musical instruments. Try these techniques with drums, percussion, acoustic instruments, previously recorded parts, or full mixes!
2. Capture Your New Sounds – Audio is King
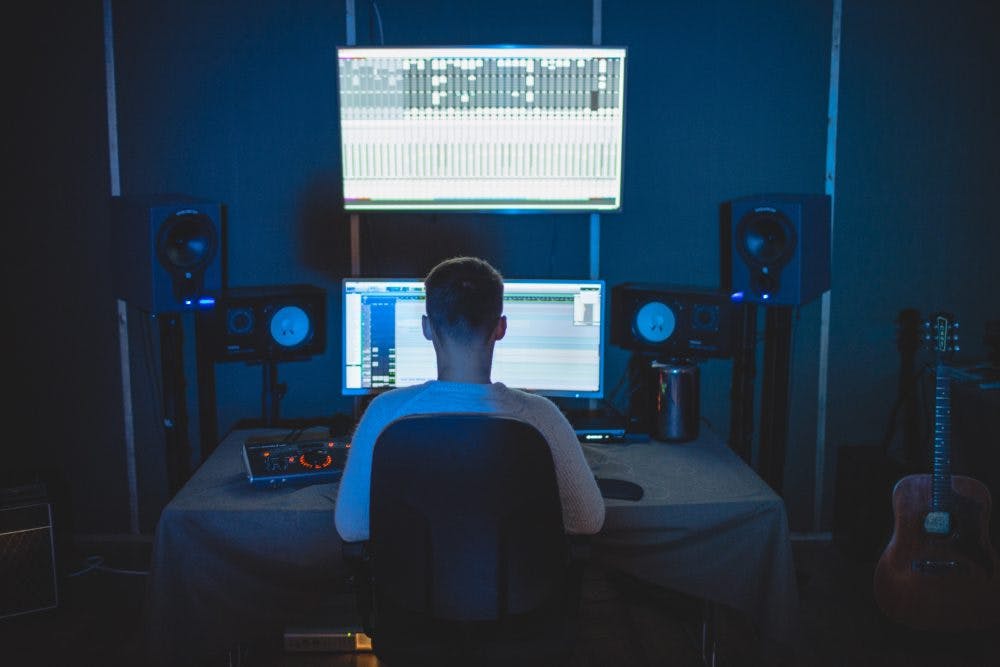
If you want to embark on the creation of an original sonic palette it is important to find a straightforward way to render your newly-created sounds into audio files. While features like “bounce in place,” “freeze,” or “commit” might sound like obvious choices, a better option is to record your sounds onto a new stereo audio track through a bus or via Ableton’s Resampling input. Just record enable your print/resampling track and hit record. With this method, your print track will continuously capture your sound design automation or live moves just like a live performance. Once you have recorded enough material you can go back and edit the audio into pieces that can be dropped directly into the sampler. You’ve created your first sampler instrument!
3. Sampler? Look No Further Than Your DAW
Most DAWs on the market come with a native sampler (Ableton’s Sampler and Simpler or Logic’s EXS24 and Sampler) in which you can create sampler instrument templates. This way, you don’t have to start from scratch each time. Such templates should include your preferred settings for basic controls like LFOs, envelopes, and filters.
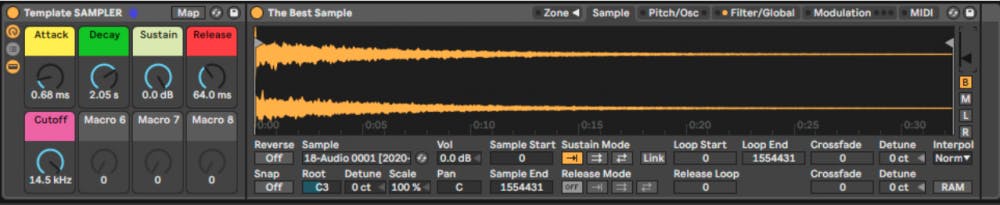
To create a sampler template in Ableton, you can drop a Sampler or Simpler into an Instrument Effect Rack and map the macro controls to your desired parameters. To achieve this click on the “knob” button to show the Macro Controls, then click on the Map button. You can now map the green parameters to any of the 8 knobs by clicking on a parameter and then clicking on any Macro Control’s Map button.
Each sampler instrument is slightly different, but you can typically drag-and-drop one or more audio clips directly onto the sampler instrument to create the instrument.

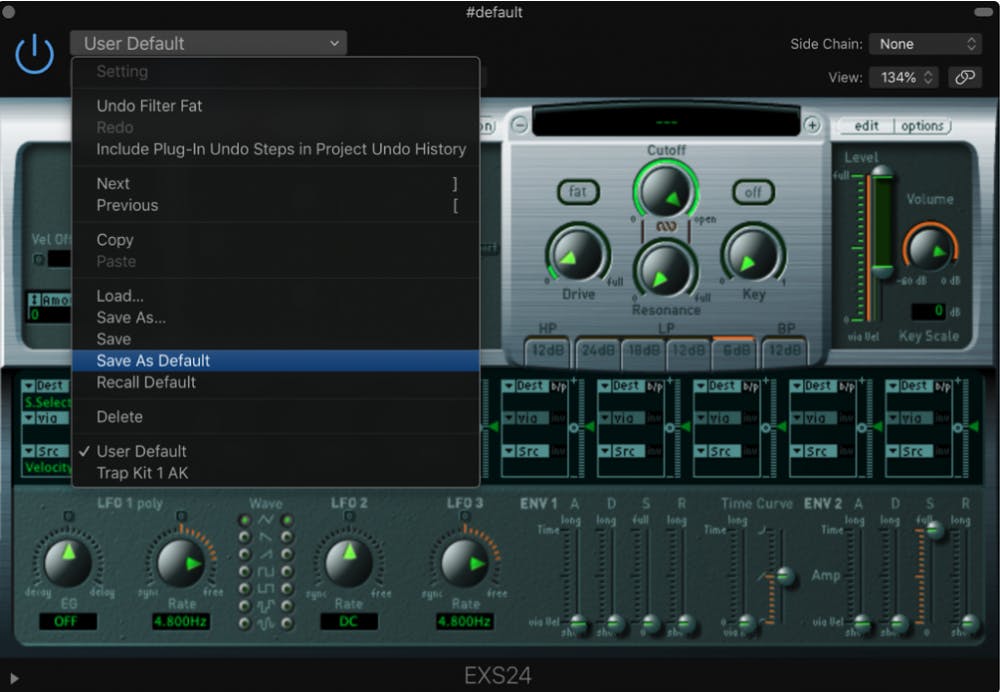
In Logic’s EX24 things are a little more straightforward. To create a starting template, simply edit the default sampler settings as desired and then select ‘Save As default.’
4. Use What You Have
You may already be sitting on a goldmine. Even without investing a lot of time to create new sounds from scratch, you can always go through your existing projects to grab interesting bits of sounds, render them into audio, and pop them into your sampler. Give each sampler instrument you create a descriptive name so you can easily find them later. Also, be sure that your samples are saved along with the sampler instrument so you can recall them for future projects. Before you know it, you will have created an impressive amount of your own custom sample libraries!